Media Settings
When using this printer for the first time or after changing the paper type used, media (label paper type) needs to be set.
Settings can be configured with the dedicated app. For details, refer to Use App.
Media (label paper type)
This printer supports four types of paper.
Prepare the appropriate one as needed.
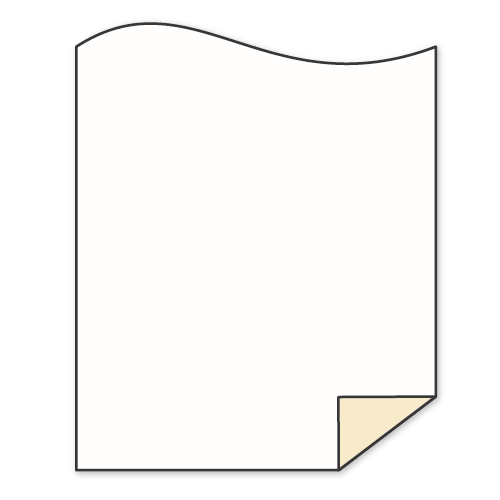
Linerless label
Label paper without liner or backing sheet and with glue sprayed on the back side.
Cut to an optional length when using it.
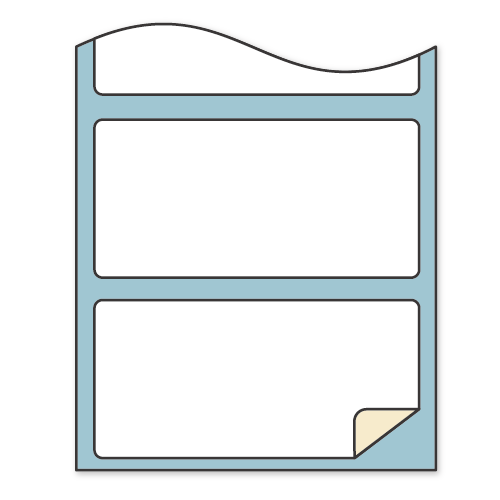
Die cut label
Linered label paper.
This has been cut to a specific size in advance.
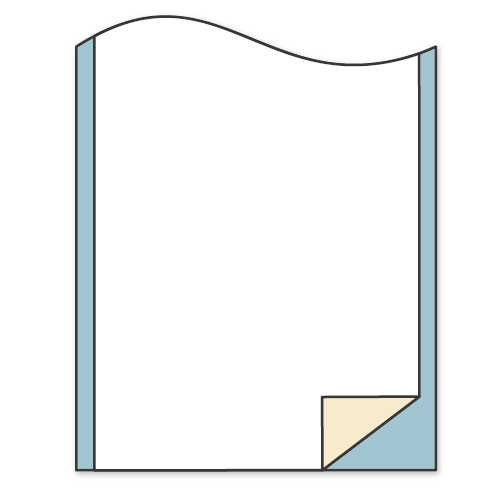
Continuous label
Linered label paper.
Cut to an optional length when using it.
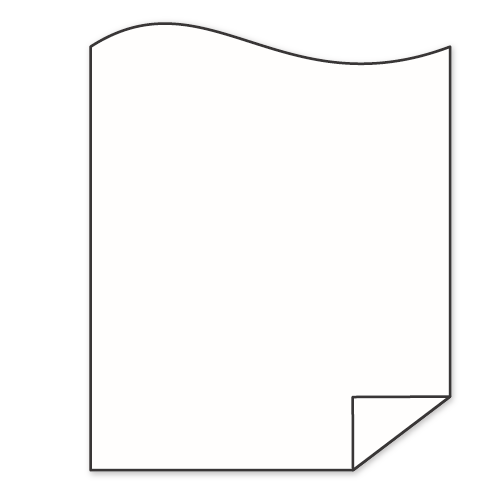
Receipt paper
Heat-sensitive thermal paper without glue or liner.
Setting the media (label paper type)
Recommended settings are provided for each media to ensure comfortable operation without causing failures such as paper jam, and values optimized for each media can be set when executing media settings.
| Factory settings | ||||
Linerless label |
Die cut label |
Continuous label |
Receipt paper |
|
| Cutting method | Partial cut Fixed | Command prioritized | Command prioritized | Command prioritized |
| Hold print control | Enabled | Disabled | Disabled | Disabled |
| Detection sensor | Disabled | Gap sensor | Disabled | Disabled |
Linerless label is selected in the factory defaults and the media settings can be changed by Utility. Make settings according to the label paper type you use. Use App
In addition, settings can be made by operating the printer. For details of the setting procedures, refer to “Instruction Manual: Special Function Setting Mode (Normal Standby), C2. Paper Setting Mode”.
Cutting method
Set how to cut the paper during label printing.
When using linerless label, partial cut is recommended.
There are following risks when using the printer in full cut mode.
- The printed label may fall upon cutting and become useless.
- The label may stick around the paper exit area, resulting in paper jam.
When Command prioritized is selected, the command from the application used is followed.
When changing settings individually by operating the printer, refer to “Instruction Manual: Special Function Setting Mode (When Power ON), C5. Cutting Method Setting Mode”.
Hold print control
Set the hold print control method when printing labels.
When hold print control is enabled, printing of the next label will not start until the printed label is removed from the paper exit of the printer.
When using linerless label, continuous printing increases the risk of paper jam, so it is recommended to enable hold print control.
When changing settings individually by operating the printer, refer to “Instruction Manual: Special Function Setting Mode (Normal Standby), C1. Hold Print Control Setting Mode”.
Detection sensor
Change the setting when cutting the label at the gap or black mark*.
When die cut label is selected, the gap sensor is enabled and the label is cut by detecting a gap between die cut labels.
When black mark is selected, the label is cut at black marks.
When using black mark, change the setting according to the guidance by Utility.
*Black mark: A mark (for sensor detection) that is printed on the rear side of the paper and indicates the label delimiter.
Paper is cut at an optional point when disabled.
When changing settings individually by operating the printer, refer to “Instruction Manual: Special Function Setting Mode (Normal Standby), C3. Paper Head Detection Setting Mode”.