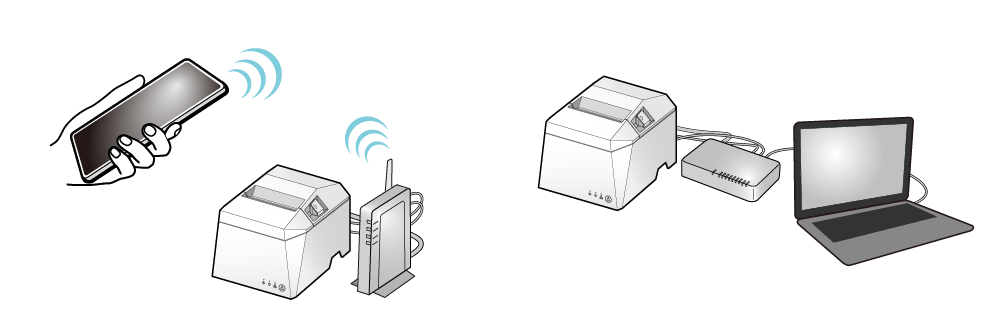
Connect Tablet/PC (Wired LAN)
Connect the printer to a PC, tablet, or smartphone, and set a static IP address for the printer.
Once a static IP address is assigned, the IP address will not be changed by the DHCP server, so the specified printer can be used continuously.
It is convenient to use the dedicated app when setting a connection with a smartphone or tablet.
For details, refer to Use App.
If you do not use a dedicated app, follow the procedure below to perform setup.
Prepare for Device Connection
Check Printer IP Address
Open Printer's Setting Screen (Web Configuration)
Printer's Static IP Address Setting
When using the printer in an environment without the DHCP server
Using the dedicated app, you can specify the static IP address in an environment without a DHCP server. For details, refer to Use App.
When not using the dedicated app, first specify the IP address from a PC that is connected to the same segment as the printer. Prepare the PC environment (Windows/Mac/Linux) and configure IP address settings according to the corresponding guideline.
Ethernet Usage Guideline for Windows
Prepare for Device Connection
Connect the device and the printer that will be configured to the same network (same segment).
Execute the following steps after connecting the printer to the network and turning it on.
The connection method varies depending on the operating system of the PC, smartphone, or other device you want to use.
Prepare to connect from an iOS device
Prepare to connect from an Android device
Prepare to connect from a Windows device
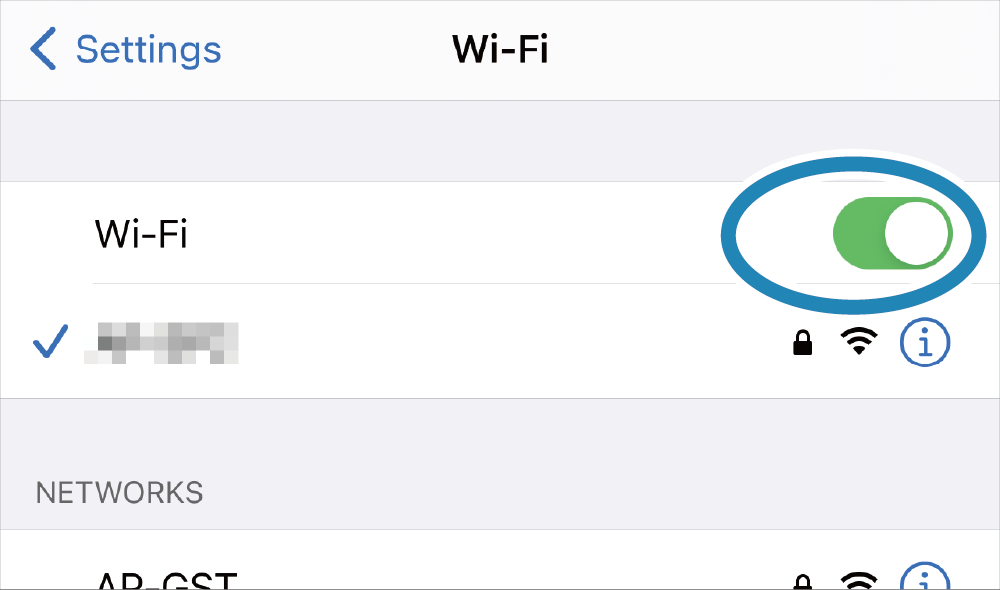
Prepare to connect from an iOS device
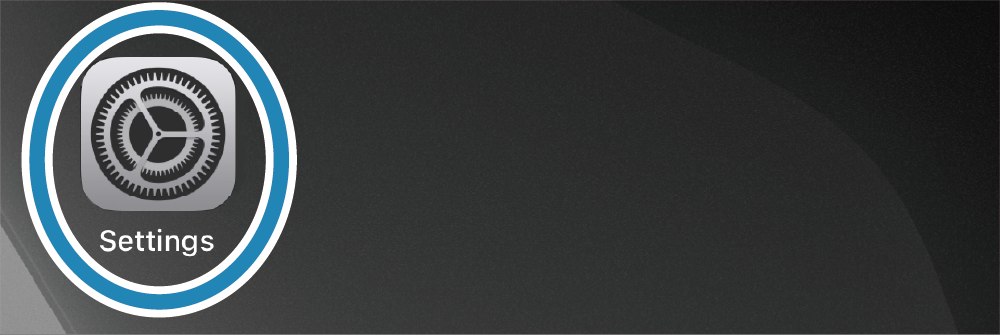
1. Prepare an iOS device
- Open the setting screen of the iOS device and turn Wi-Fi on.
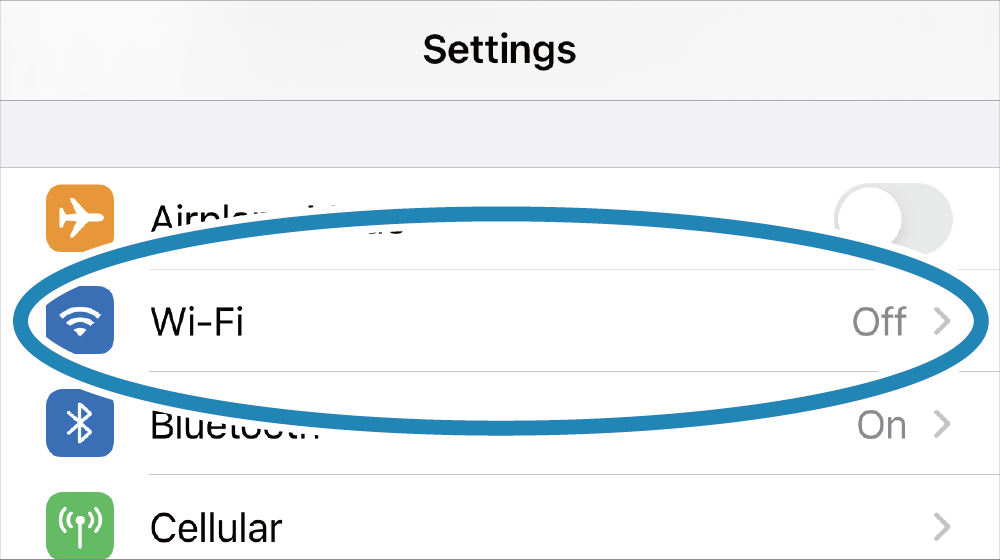
Go to next step: Check Printer IP Address
Prepare to connect from an Android device
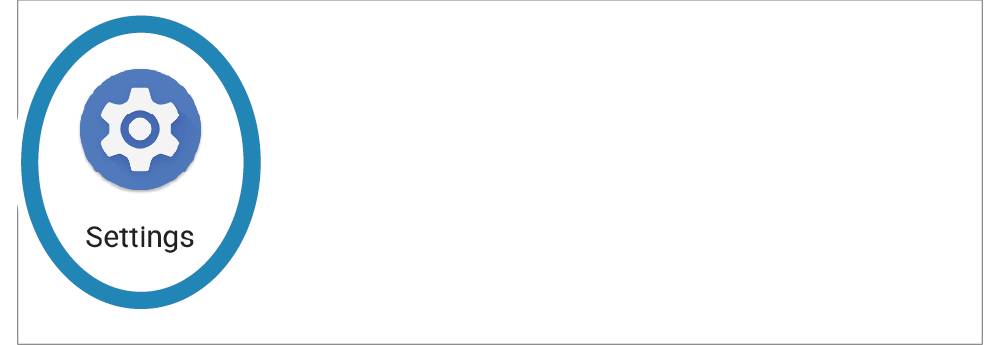
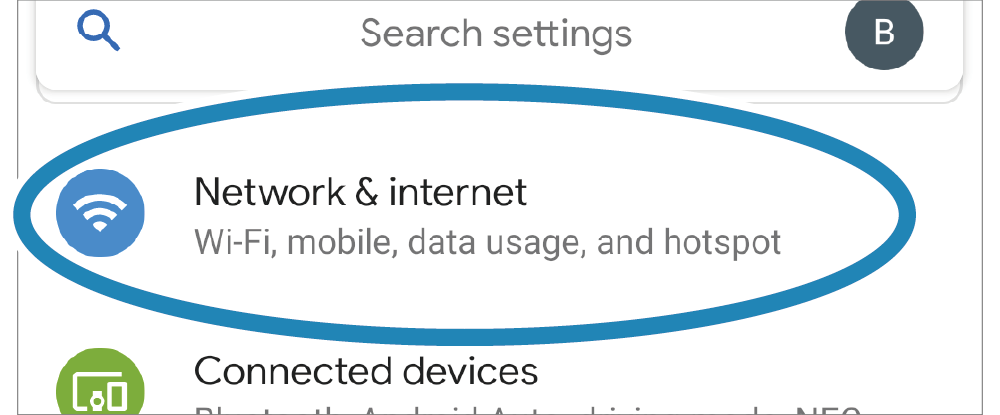
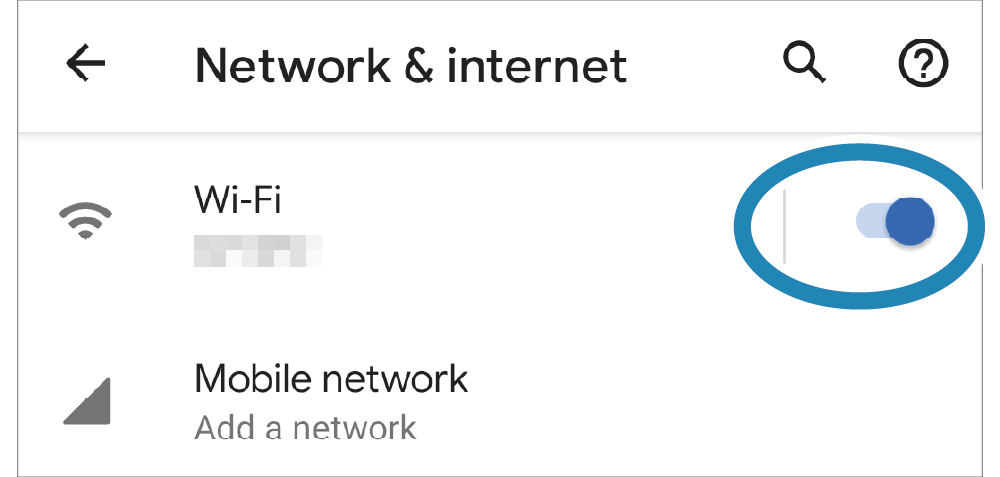
1. Prepare an Android device
- Open [Settings] - [Network & Internet] on the Android device, and turn Wi-Fi on.
Go to next step: Check Printer IP Address
Prepare to connect from a Windows device
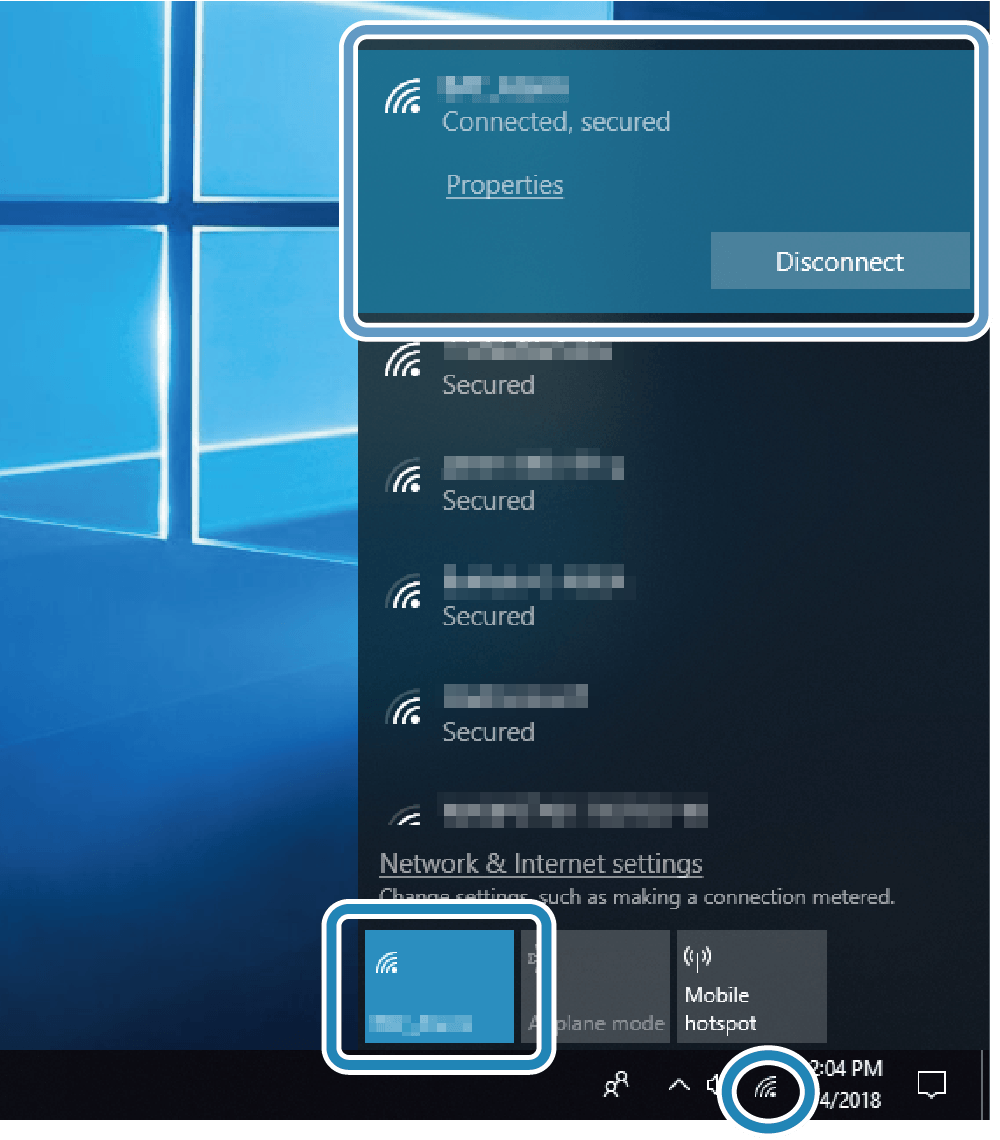
1. Prepare a Windows PC or tablet
- Click the network icon on the taskbar, and turn Wi-Fi on.
Go to next step: Check Printer IP Address
Check Printer IP Address
Because the IP address is specified from the PC, tablet, or smartphone when connecting to the printer, check the IP address that is currently assigned to the printer.
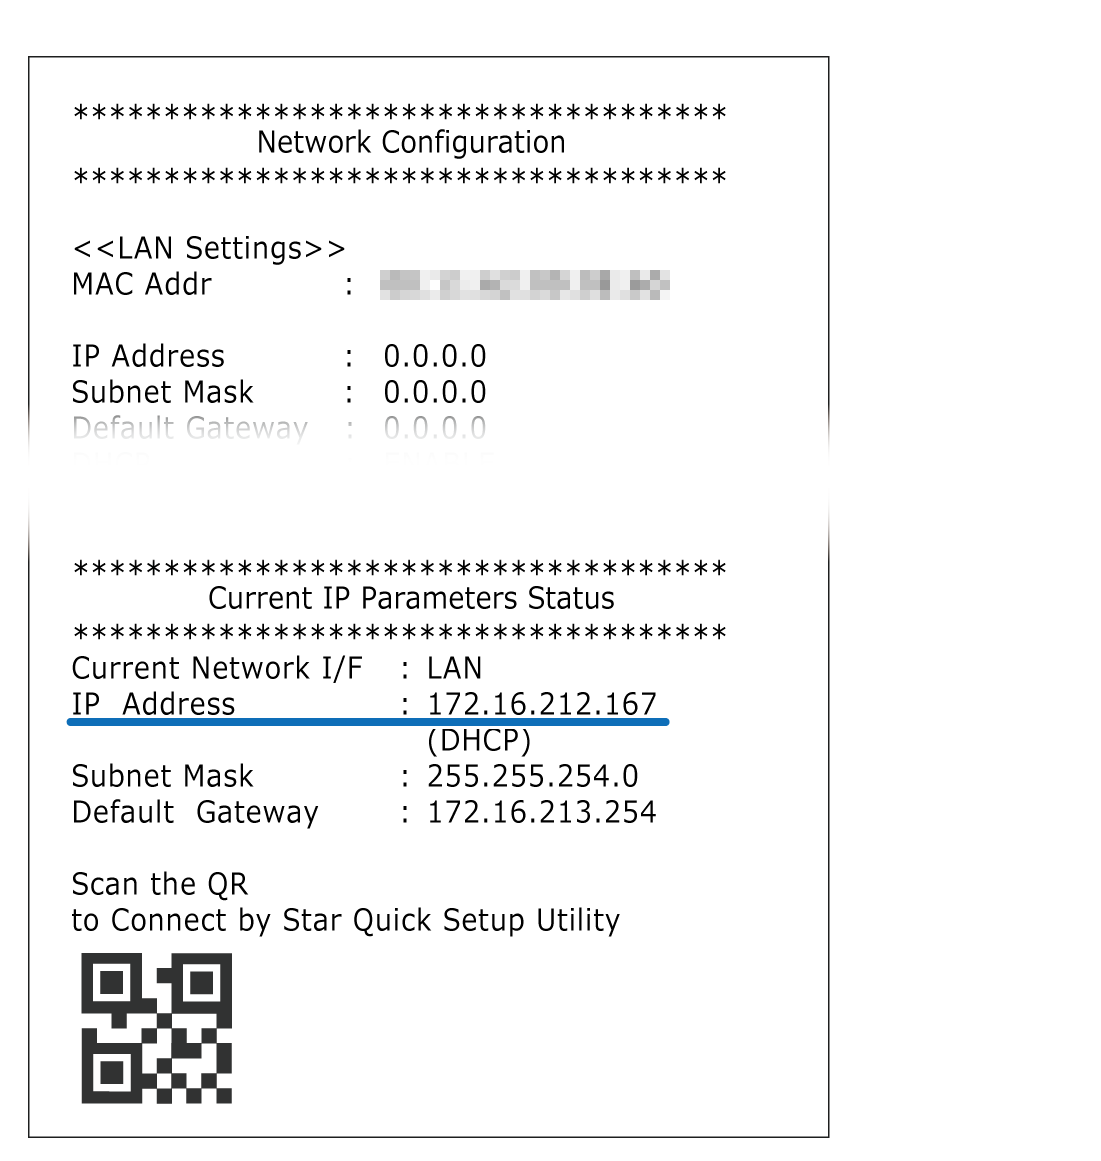
1. Check the current IP address
- Perform Self-Printing of the printer, and check the IP address displayed in "IP Address" of **Current IP Parameters Status**.
Proceed to the next step: Open Printer's Setting Screen (Web Configuration)
Return to link sourceOpen Printer's Setting Screen (Web Configuration)
Use the checked IP address to connect to the printer. The printer setup screen (Web Configuration) will open.
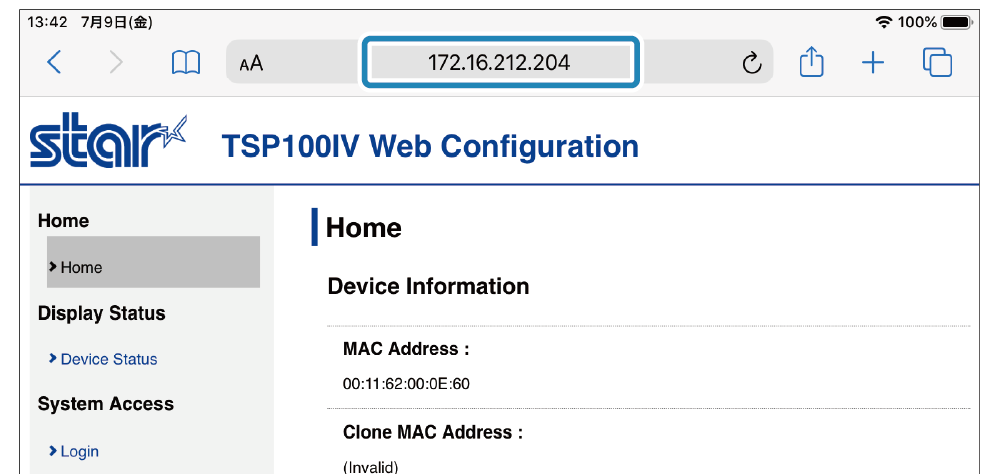
1. Open the setting screen (Web Configuration) of the printer via the Web browser
- Enter the checked IP address (example: 172.16.212.167) into the address input field of Safari or another web browser and connect to the printer. The printer setup screen (Web Configuration) will open.
If Web Configuration is not displayed correctly
If “https://[Printer IP address]” was specified when the printer IP address was input into the web browser, Web Configuration may not be displayed correctly.
When opening Web Configuration, use “http:// [Printer IP address]”.
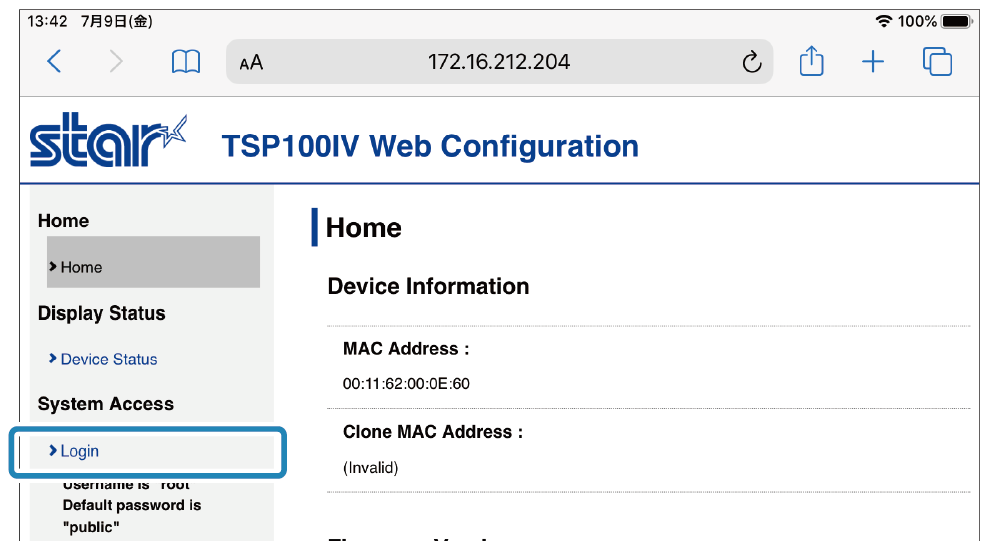
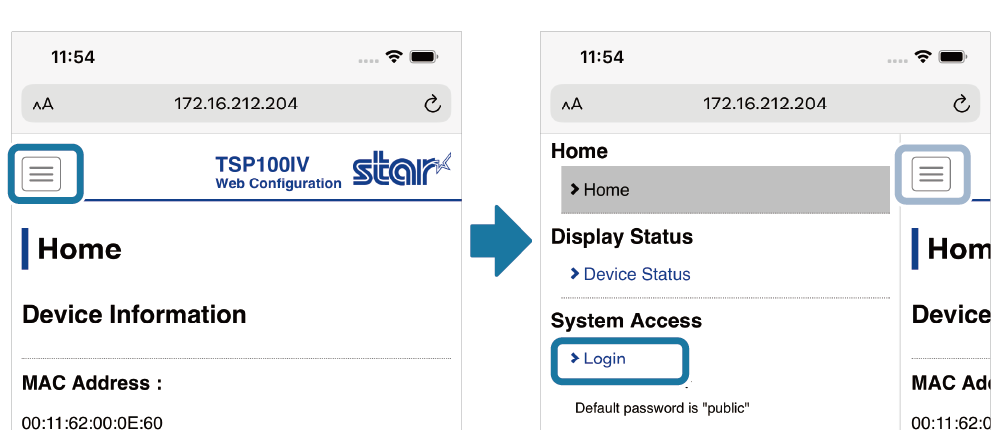
2. Log in to Web Configuration
- Open [Login] from the menu displayed on the left side of the settings screen or from the menu button
 displayed on the upper-left side.
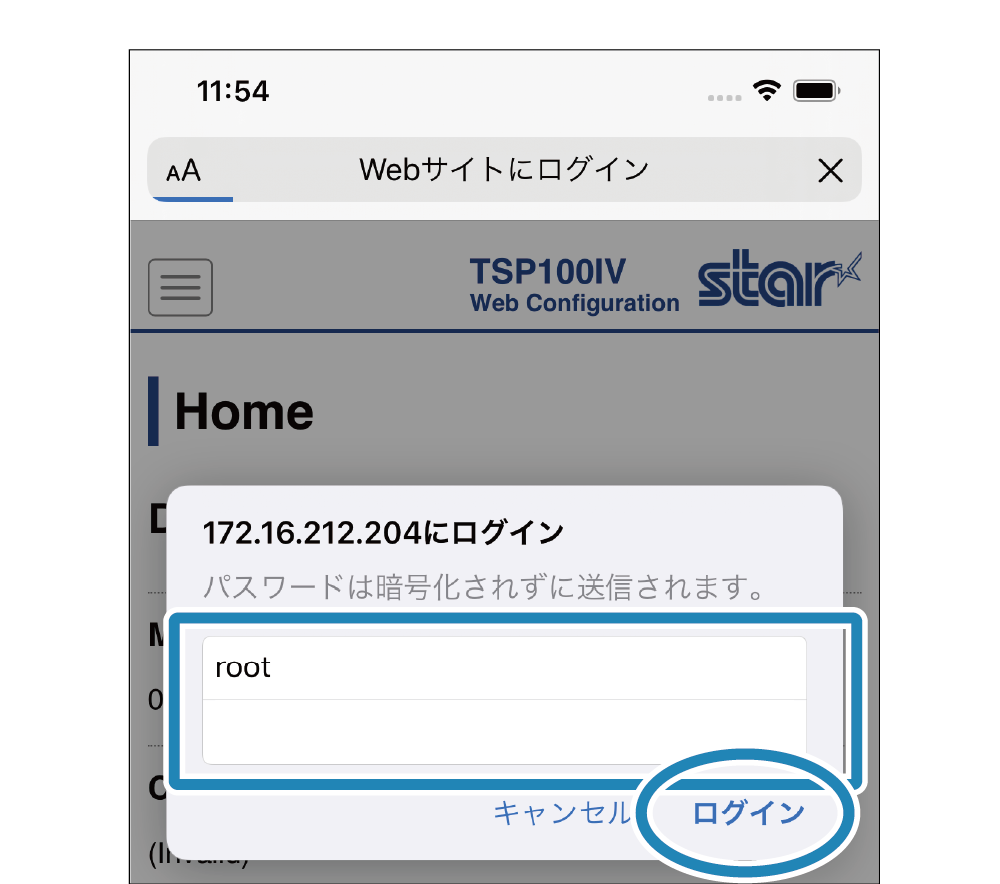
 - Username: root / Password: Log in using [the changed password or default password (public)].
Note
| Username | root |
|---|---|
| Password | public |
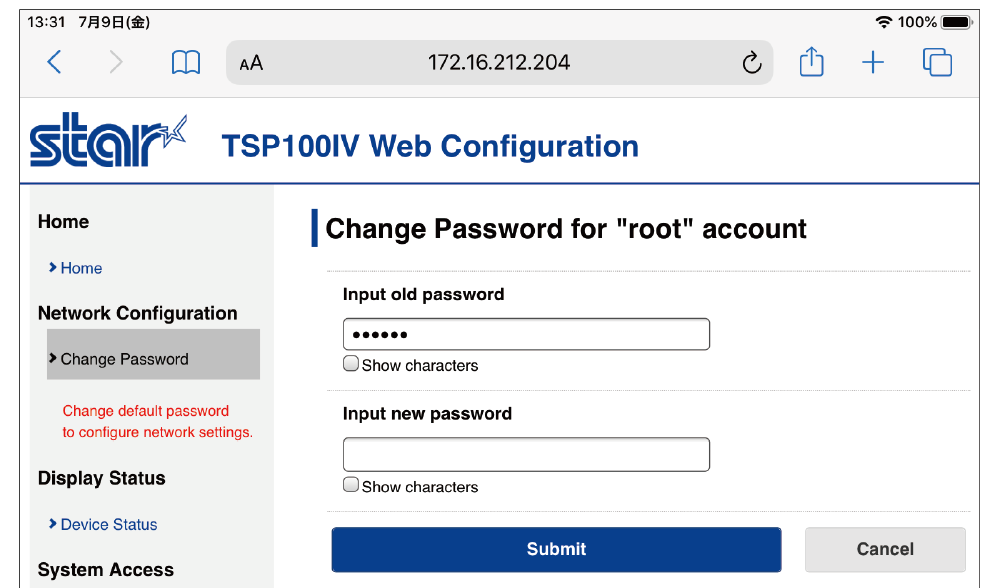
- When logging in using the default password, a screen for changing the password opens. After changing the password, proceed to the next step.
Proceed to the next step: Printer's Static IP Address Setting
Return to link sourcePrinter's Static IP Address Setting
Specify the static IP address of the printer from WebConfiguration you logged in to.
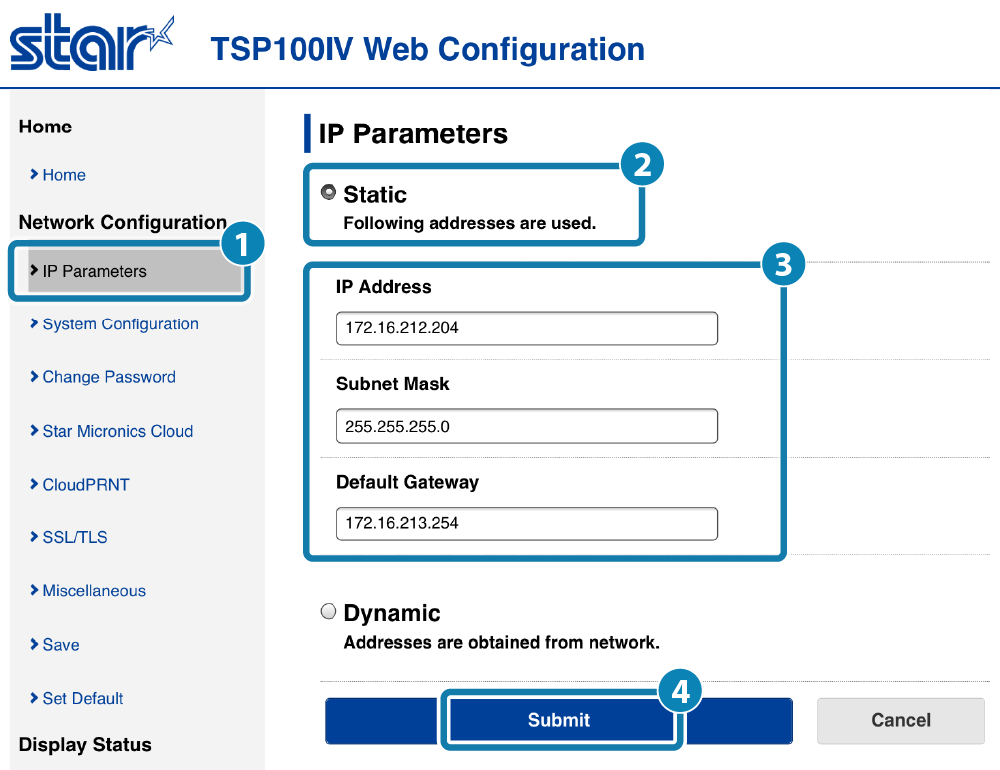
1. Specify static IP address
- From the menu or the menu button at the upper left of the screen, open [IP Parameters]
 , select Static
  , enter IP Address and Subnet Mask
  , and tap [Submit]
  .
.
Note
- Ask your network administrator about the static IP address and subnet mask to use in the settings.
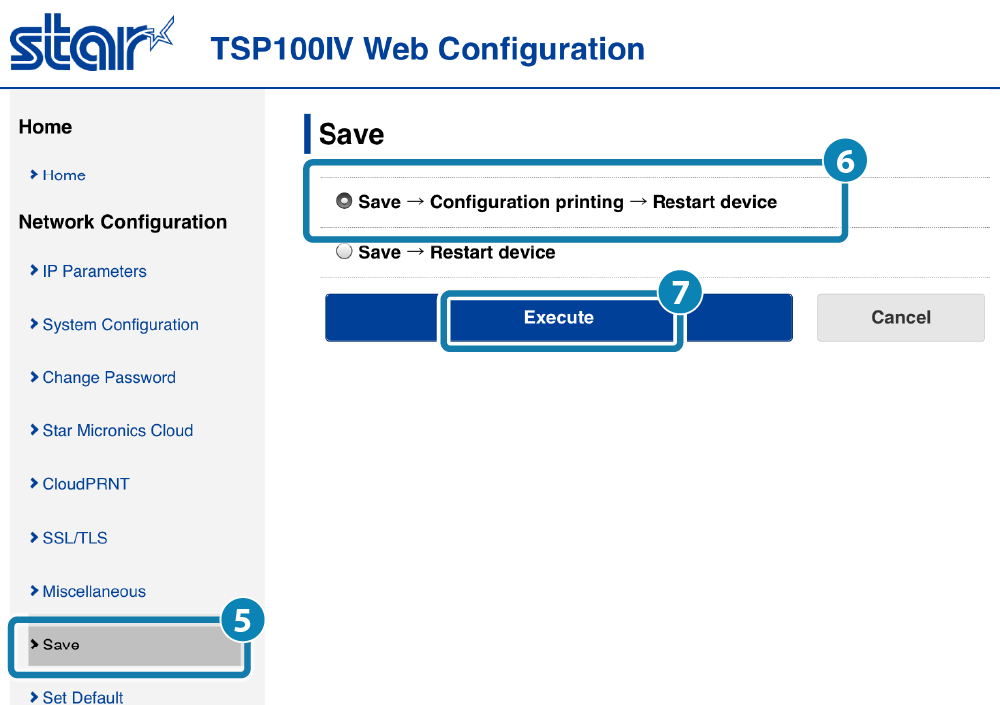
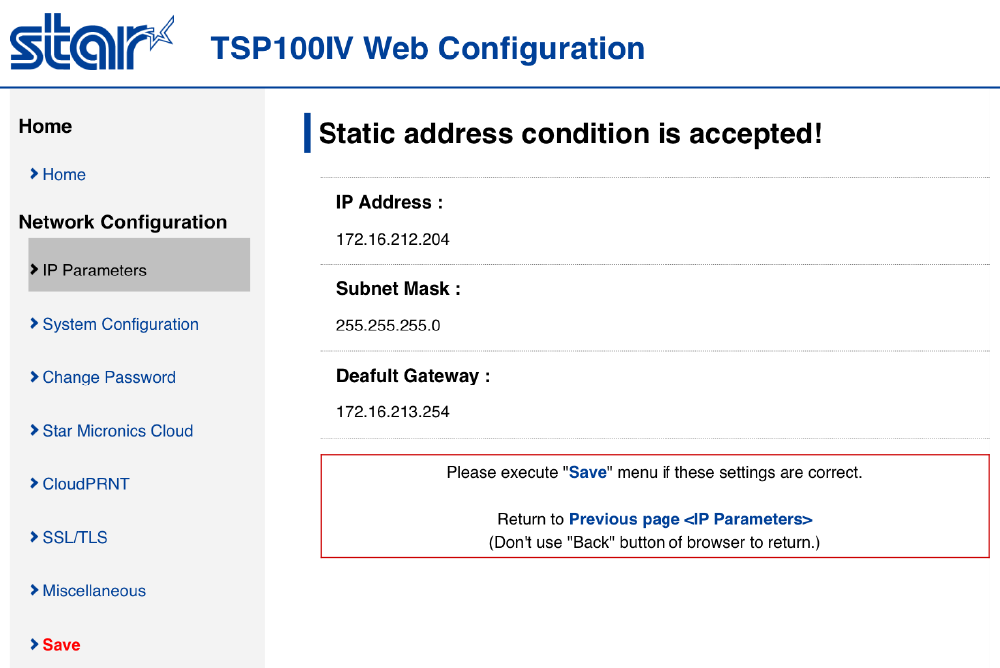
2. Save the settings to the printer
- Tap [Save]
 displayed at the bottom. The settings are saved to the printer and printed out.
- If you select [Save] from the menu or menu button at the upper left of the screen, open [Save] , select Save Configuration Printing Restart device
 , and tap [Execute]
  .
.
Similar to the above procedure, the settings are saved to the printer and printed out.