Connect Tablet/PC (Bluetooth®)
Connect (pair) the mC-Label2 main unit to a tablet or PC.
<Wireless Model only>Check Model
Before you begin
There are two types of Bluetooth: Bluetooth Classic and Bluetooth LE. Check in advance which Bluetooth type the external app you are using supports.
This manual describes how to connect using Bluetooth Classic.
If the app you are using uses Bluetooth LE, do not perform the following procedure. For information on how to connect using Bluetooth LE, refer to the instructions of the app you are using.
It is convenient to use the dedicated app when setting a connection with a tablet or PC.
For details, refer to Use App.
Check the name of the device beforehand
Depending on the product, the "Device Name" displayed when pairing is different, and can be checked via [Dev Name] of ***Bluetooth Information*** printed via Self-Printing.
If you do not use a dedicated app, the setting method varies depending on the OS of the device you are using.
Connect from an iOS device
Connect from an Android device
Connect from a Windows device
Connect from an iOS device
The following steps must be performed after mC-Label2 is turned on. Turn power on
Note
Set the USB-C function to “Power Supply Only mode” in advance when using Bluetooth communication with the printer while charging on the USB-C port of the printer. Switch USB-C Function
1. Pairing with the printer
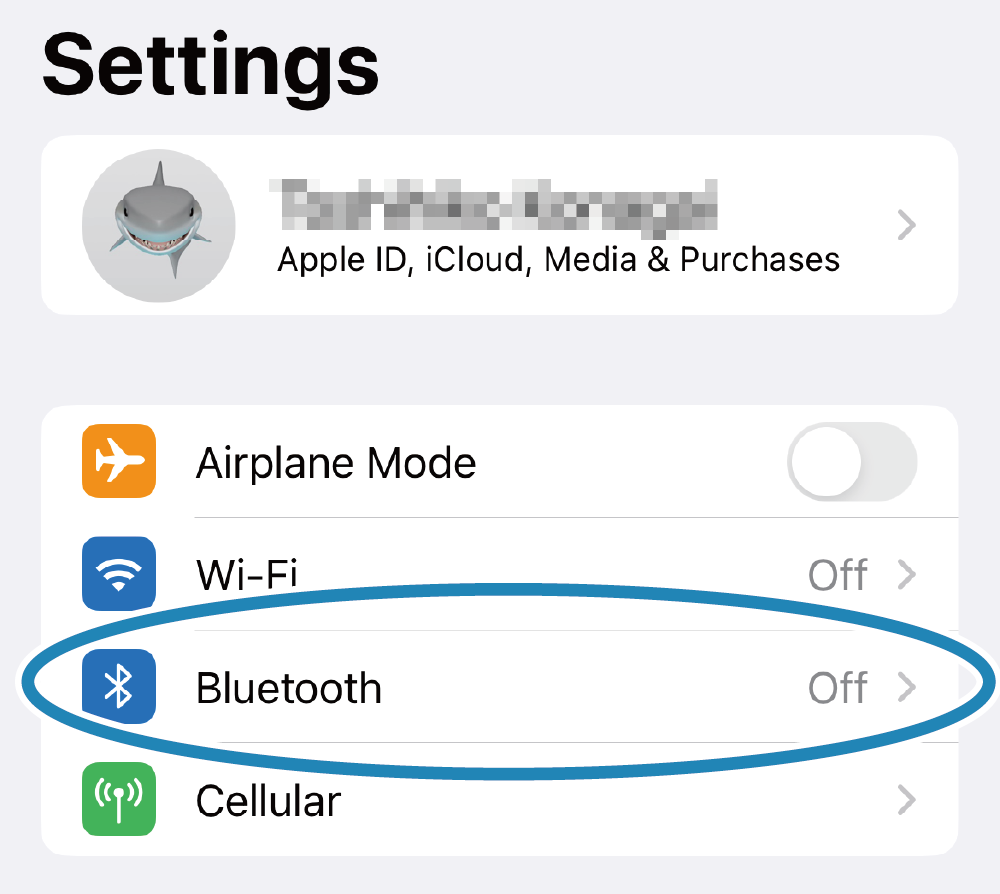
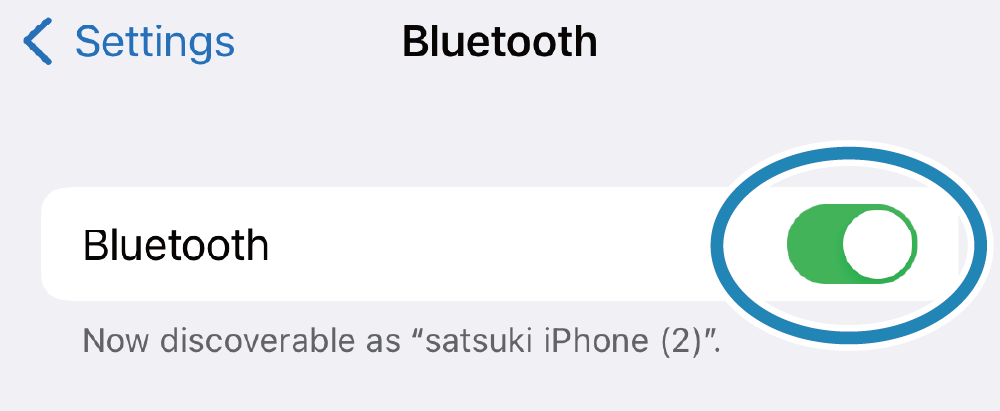
- Open the Settings screen on the tablet, turn on Bluetooth, and select the device name (mC-Label2-XXXXX) to connect to. If the device name has been changed, select the updated device name.
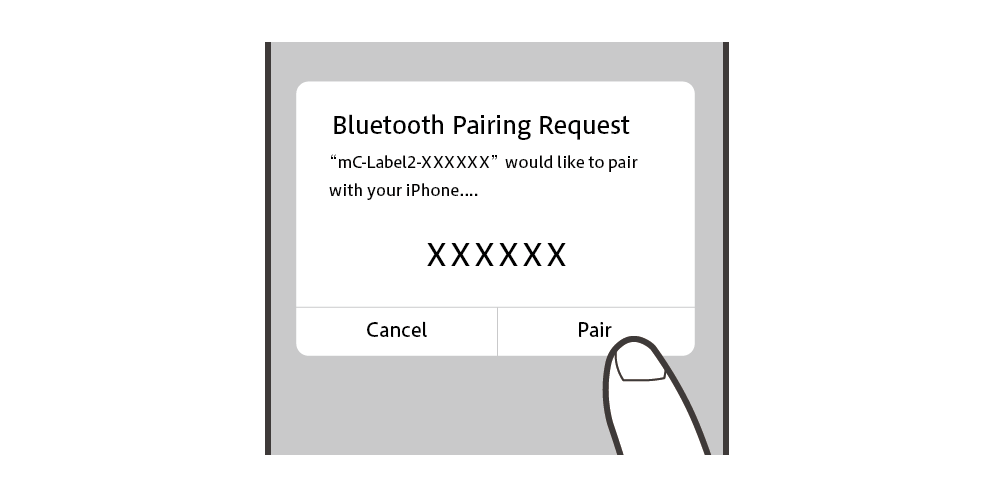
- If the following window (Bluetooth Pairing Request) appears, refer to Authentication Steps.
- If you are unable to connect, please refer to FAQ - Cannot establish Bluetooth communication.
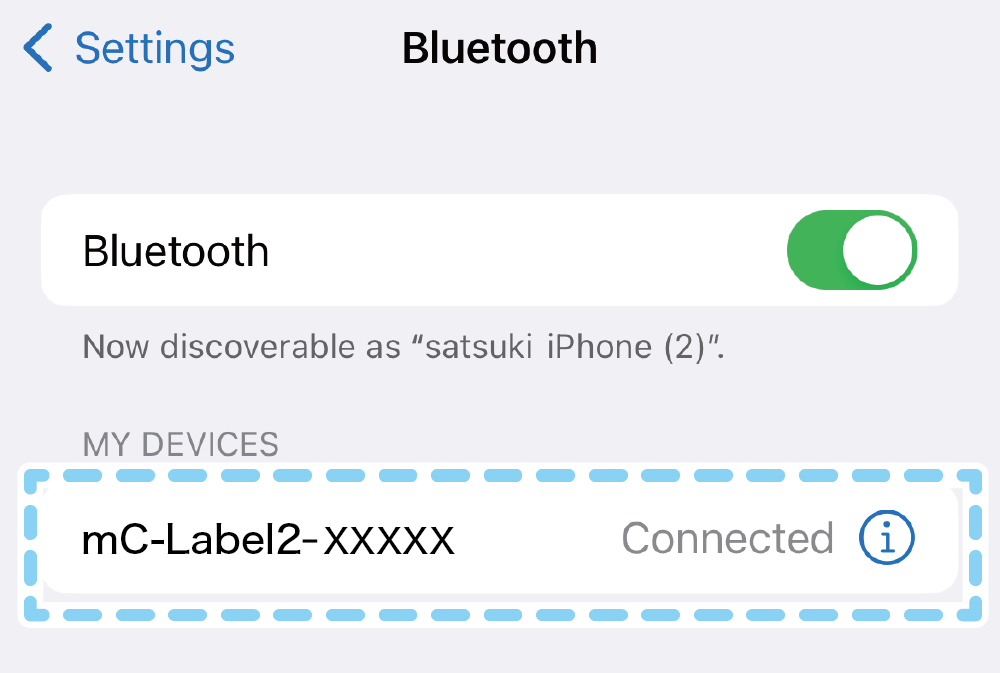
2. Confirm that it has connected
- When connection is completed, "Connected" will be displayed next to the device name.
Important notes when [New Pairing Permission] is set to OFF
When [New Pairing Permission] is set to OFF, re-pairing with already connected tablets and new pairings with other tablets are not permitted due to enhanced security.
When [New Pairing Permission] is set to OFF, do not perform "Forget Device" on the [Settings] screen for the already connected tablet.
If you accidentally delete the device, then perform Initialize Communication Settings, and re-pair the tablet.
If you wish to perform a new pairing, change the [New Pairing Permission] setting from OFF to ON in Star Quick Setup Utility [Change Printer Settings] - [Bluetooth Settings] and tap [Apply].
For details on Star Quick Setup Utility, refer to Use App.
Connect from an Android device
The following steps must be performed after mC-Label2 is turned on. Turn power on
1. Pairing with the printer
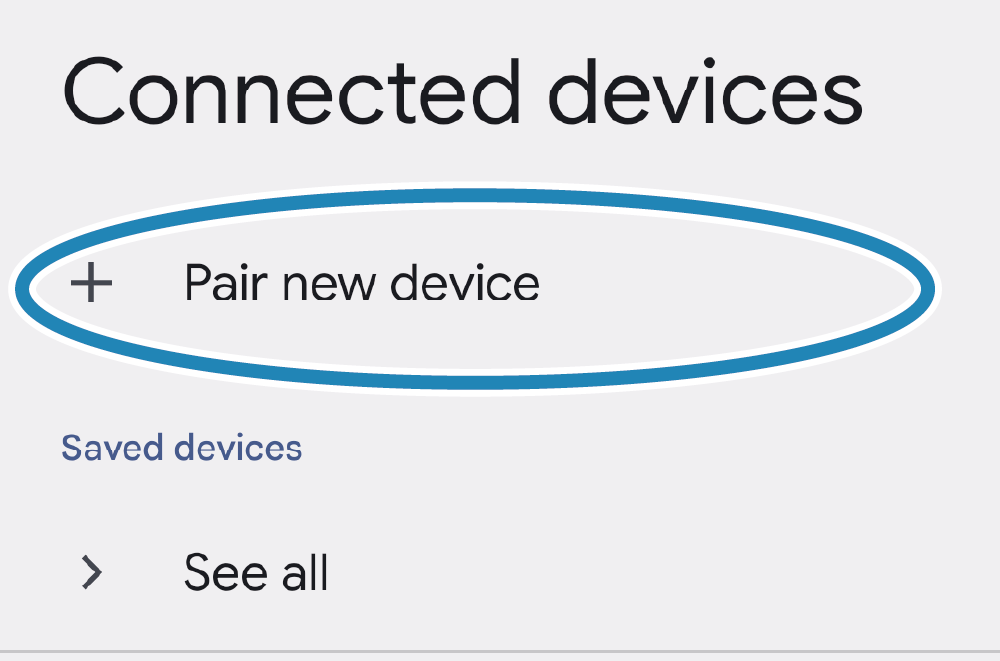
- Swipe down from the top of the screen and press and hold [Bluetooth].
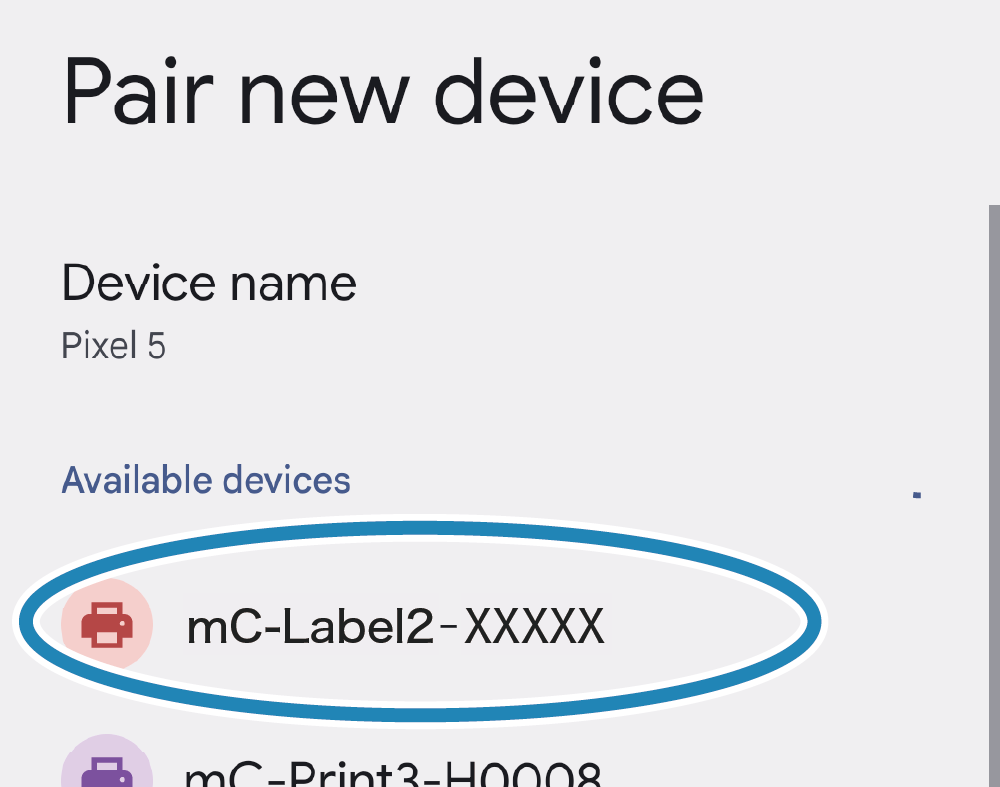
- Tap "Pair new device".
- Select the device name (mC-Label2-XXXXX) to connect to.
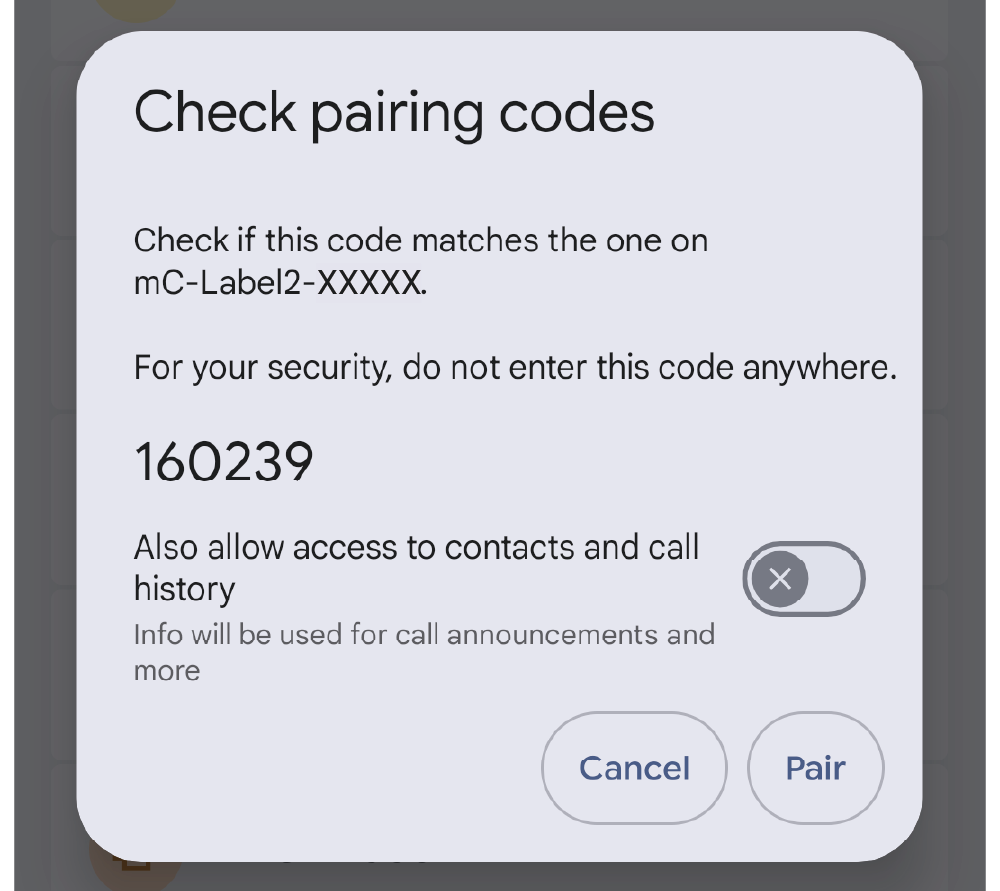
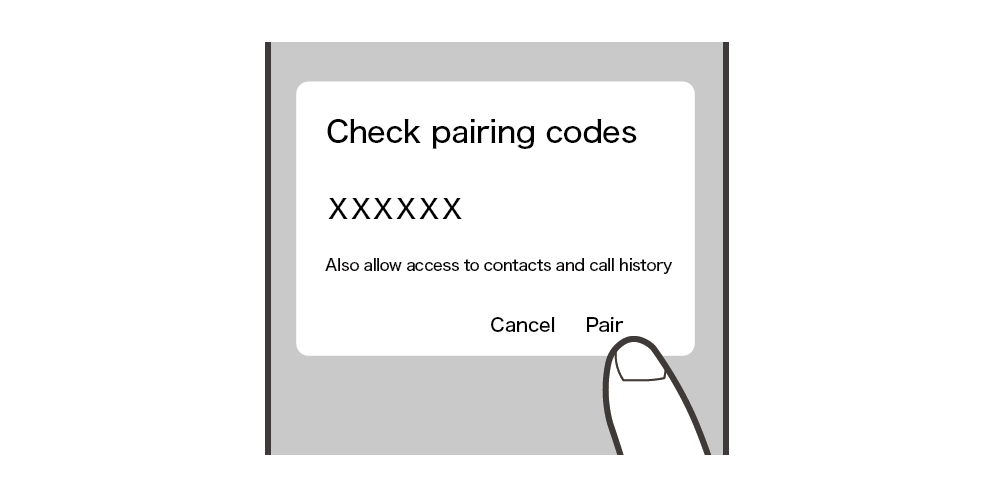
If the device name has been changed, select the changed device name. - If the following window (Check pairing codes) appears, refer to Authentication Steps.

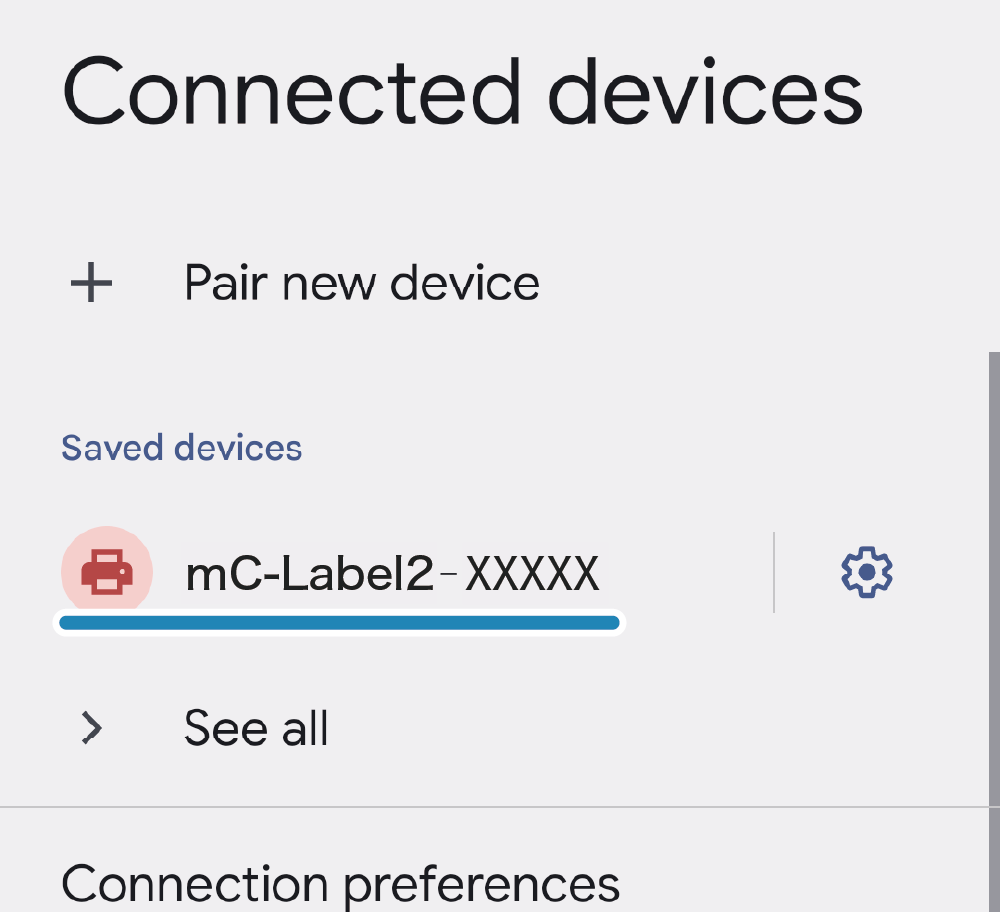
2. Confirm that it has connected
- Once pairing is complete, the device name will be displayed under "Saved devices".
- If you are unable to connect, please refer to FAQ - Cannot establish Bluetooth communication.
Important notes when [New Pairing Permission] is set to OFF
When [New Pairing Permission] is set to OFF, re-pairing with already connected tablets and new pairings with other tablets are not permitted due to enhanced security.
When [New Pairing Permission] is set to OFF, do not perform "Forget Device" on the [Settings] screen for the already connected tablet.
If you accidentally delete the device, then perform Initialize Communication Settings, and re-pair the tablet.
If you wish to perform a new pairing, change the [New Pairing Permission] setting from OFF to ON in Star Quick Setup Utility [Change Printer Settings] - [Bluetooth Settings] and tap [Apply].
For details on Star Quick Setup Utility, refer to Use App.
Connect from a Windows device
The following steps must be performed after mC-Label2 is turned on. Turn power on
1. Pairing with the printer
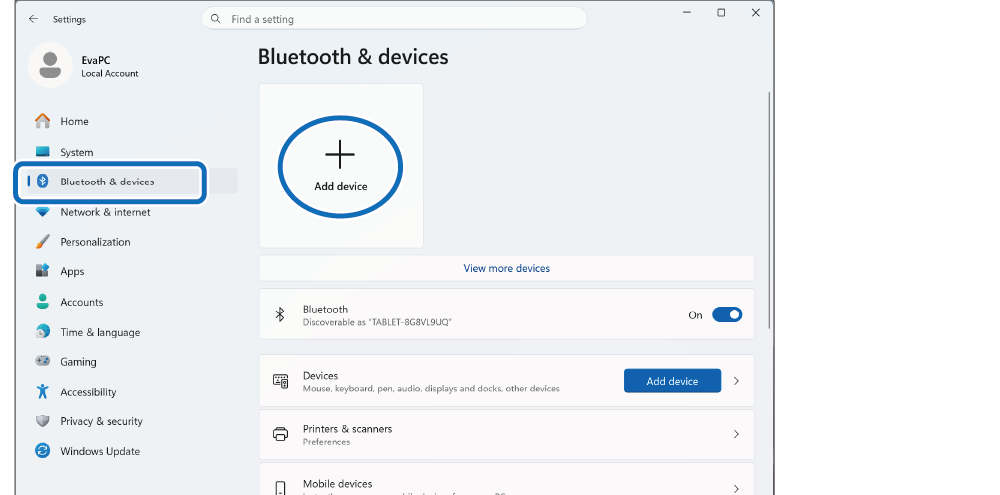
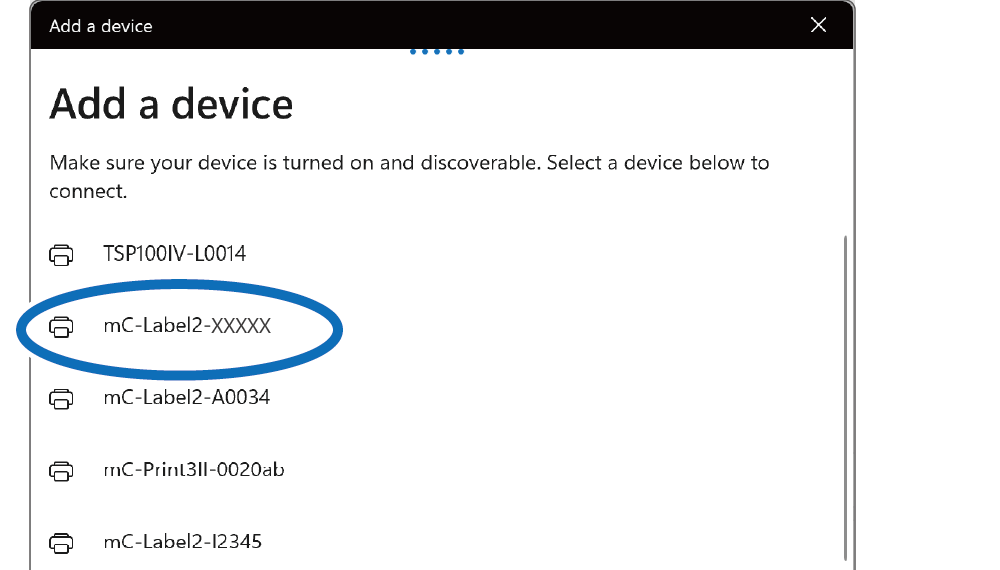
- Open [Settings] from the Windows Start menu, select [Bluetooth & devices], and click/tap [Add device].
- Select the device name (mC-Label2-XXXXX) to connect to.
If the device name has been changed, select the changed device name. - If the following window appears, refer to Authentication Steps.
- If you are unable to connect, please refer to FAQ - Cannot establish Bluetooth communication.
2. Confirm that it has connected
- When connection is completed, "Paired" will be displayed.
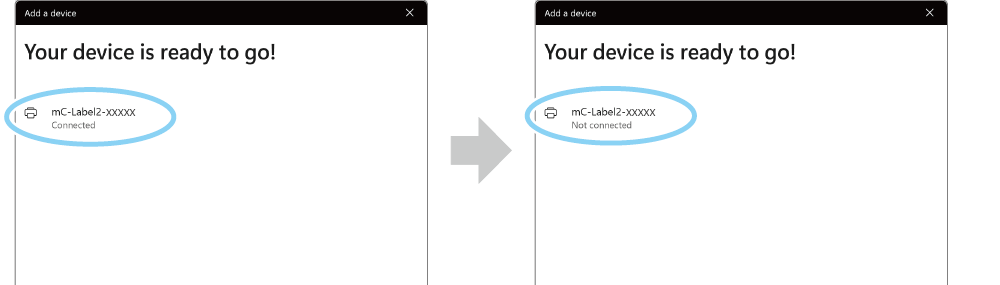
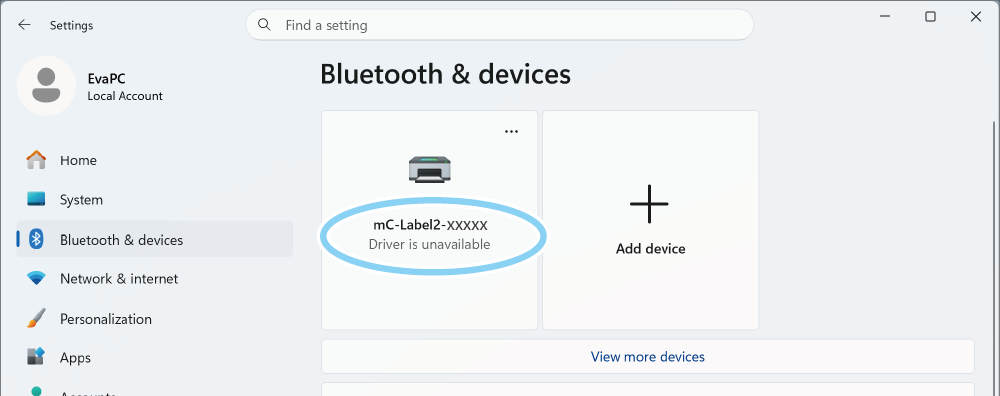
Note
After a while, "Driver is unavailable" will be displayed, however, pairing is completed.
3. Check the virtual COM port
- The virtual COM port is needed when creating a printer queue using "Star Windows Software".
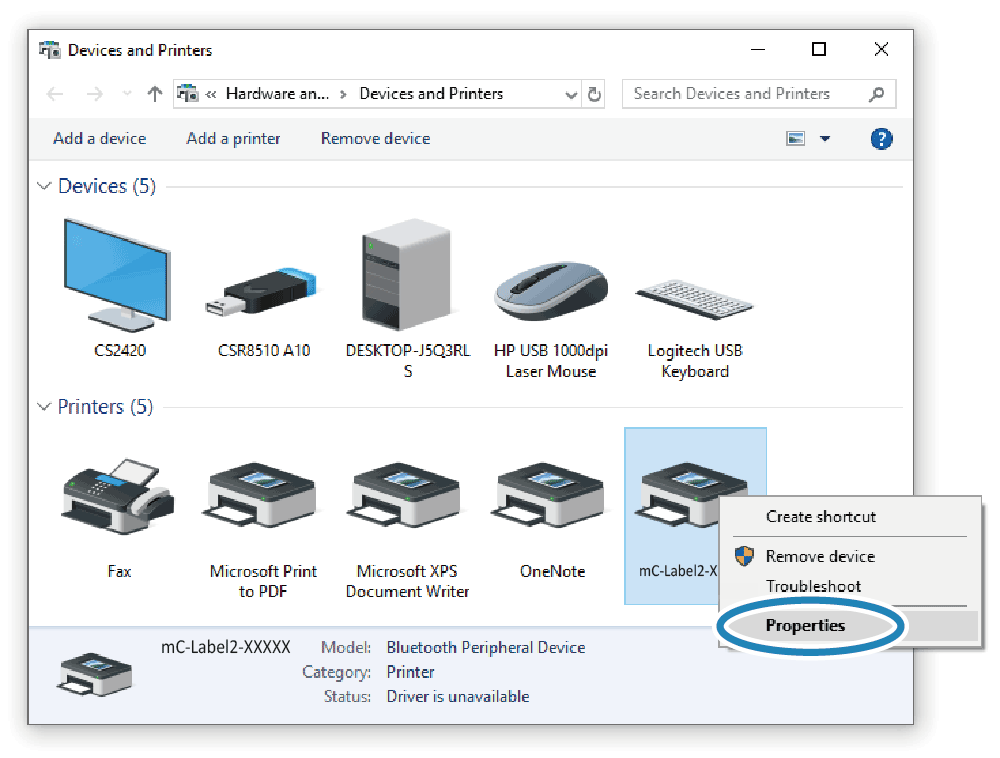
For details on "Star Windows Software", refer to Use App. - Open [Windows (System) Tools] - [Control Panel] from "All App" in the Start menu, and start [Devices and Printers]. Select the printer to be checked, right-click on it and select [Property].
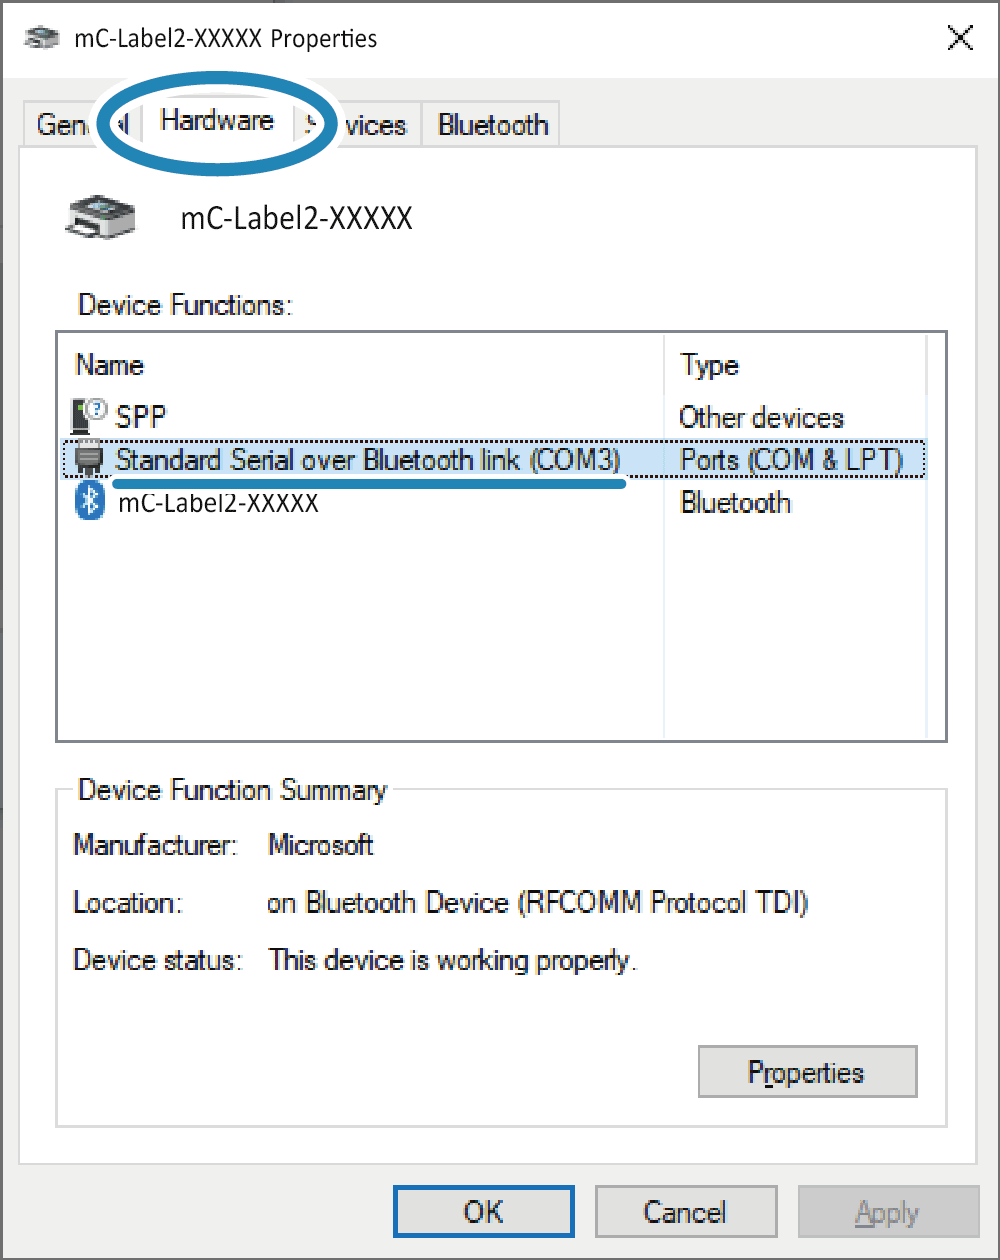
- Check the connected virtual COM port on the hardware tab.
The device name created here cannot be used for the destination specified when printing from a Windows application. Create a separate printer queue using Star Windows Software.
For details Star Windows Software, refer to Use App.
Important notes when [New Pairing Permission] is set to OFF
When [New Pairing Permission] is set to OFF, re-pairing with already connected tablets/PCs and new pairings with other tablets are not permitted due to enhanced security.
If [New Pairing Permission] is OFF, do not perform "Remove Device" from connected (paired) tablets or PCs.
If you accidentally delete the device, then perform Initialize Communication Settings, and re-pair the tablet.
If you wish to perform a new pairing, then change the [New Pairing Permission] setting from OFF to ON in the "Bluetooth Utility".
For details on Bluetooth Utility, refer to Use App.
Authentication Steps
Your printer requires Bluetooth pairing authentication.
Complete the authentication within approximately 30 seconds by following the procedure below.
Check
The desired Bluetooth type is printed above the *** Pairing Code *** that has been printed.
Before proceeding with the authentication steps, check that "Bluetooth Classic" is printed.
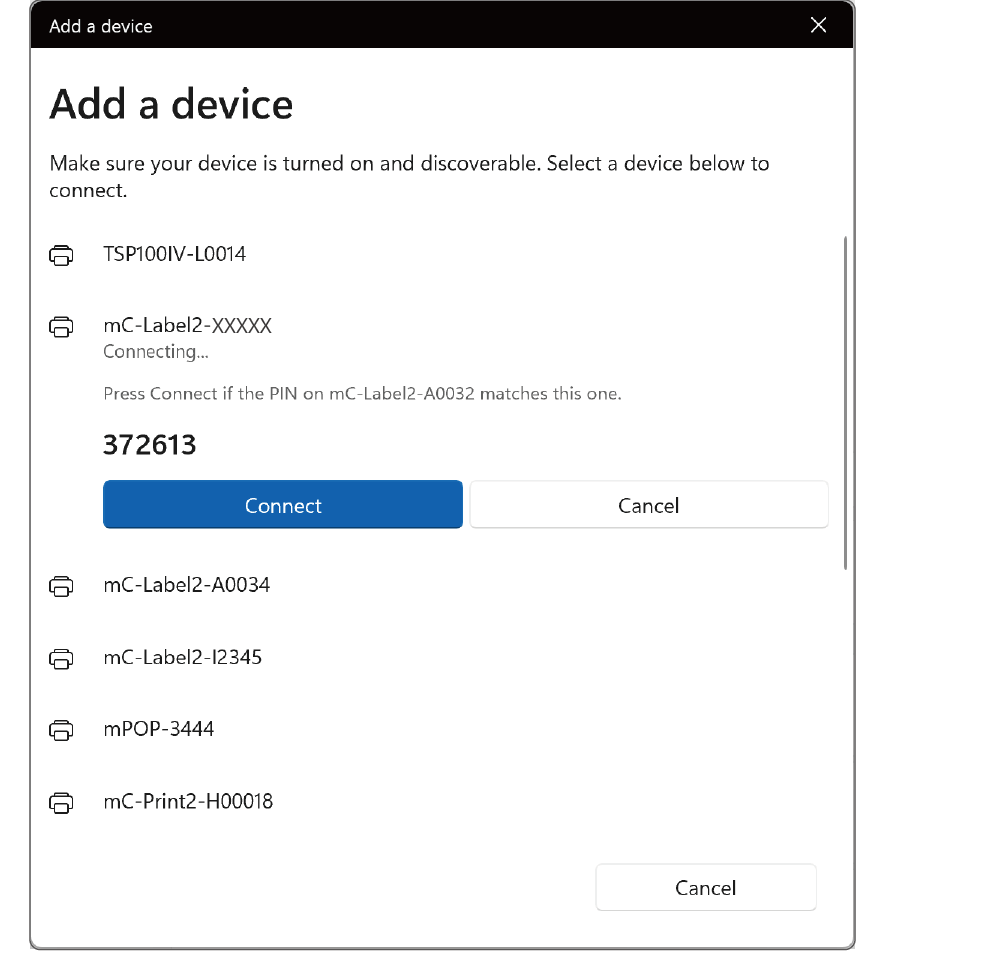
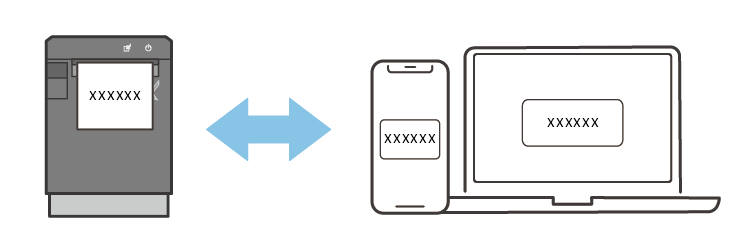
- Confirm that the printed "Pairing Code" matches the displayed "authentication code".
- Tap "Pair" on the device.
- Tap "Pair" on the device.
- Tap/click "Connect" on the device.

- Press the multi-function button
 on the printer.
Notes