Set Up External Devices
This product includes a USB port and a connector for driving external devices as an external device connection.
USB devices can be connected to the USB port for purposes such as using and charging a USB connection compatible product.
When connecting a PC, tablet, smartphone, or other device for the purpose of communication, refer to Connect USB Cable.
Before and after connecting the cable to the rear panel, remove and mount the rear cover respectively.
Remove/Mount Rear Cover
USB-C port
USB-A port
USB-C port
Connect the cable for the USB device you are using to the USB-C port in order to supply power (maximum 20W) to the USB device.
Users of iPad/iPhone/iPod
Set the USB-C function to “Power Supply Only mode” in advance when using Bluetooth communication with the printer while charging on the USB-C port of the printer. Switch USB-C Function
1. Connect the USB cable to the printer
- Connect the USB cable connector to the printer USB-C port.
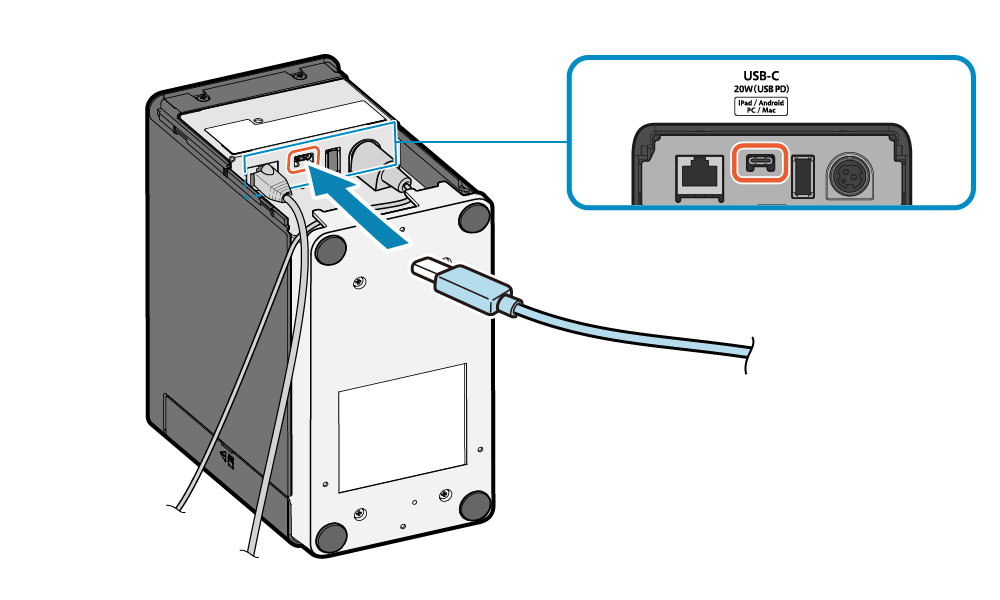
Note
Even when using a device (such as a tablet or PC) that supports USB PD, charging may not be possible depending on the device specifications. When charging is not possible, please use the charger included with the USB device.
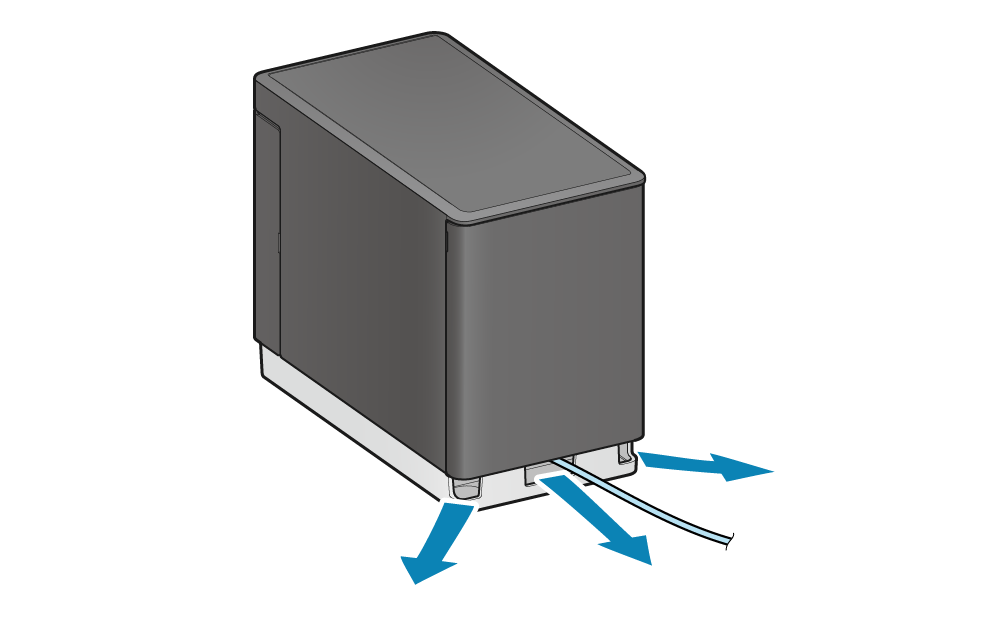
2. Connect the cable and mount the rear cover
- Cable outlets are provided in 3 locations (right, left, and back), and cables can be routed to suit the location where the device is placed.
- Mount the rear cover, referring to Mount rear cover.
USB-A port
You can connect a USB-connectable product* for use with the printer.
* USB-connectable product:SCD222U, BCR-POP1, HID devices (keyboard interface), and USB flash drives
A USB cable for connection to the USB-A port is not included in the accessories. Use a USB cable commercially available or included with the USB device.
Caution
- Only one barcode reader and one customer display can be connected to each printer.
- Available only if your application (or system) supports barcode reader and customer display. Please check with your application (or system) provider for support status.
1. Connect the USB cable to the printer
- Connect the USB cable connector to the port located on the rear of the printer.
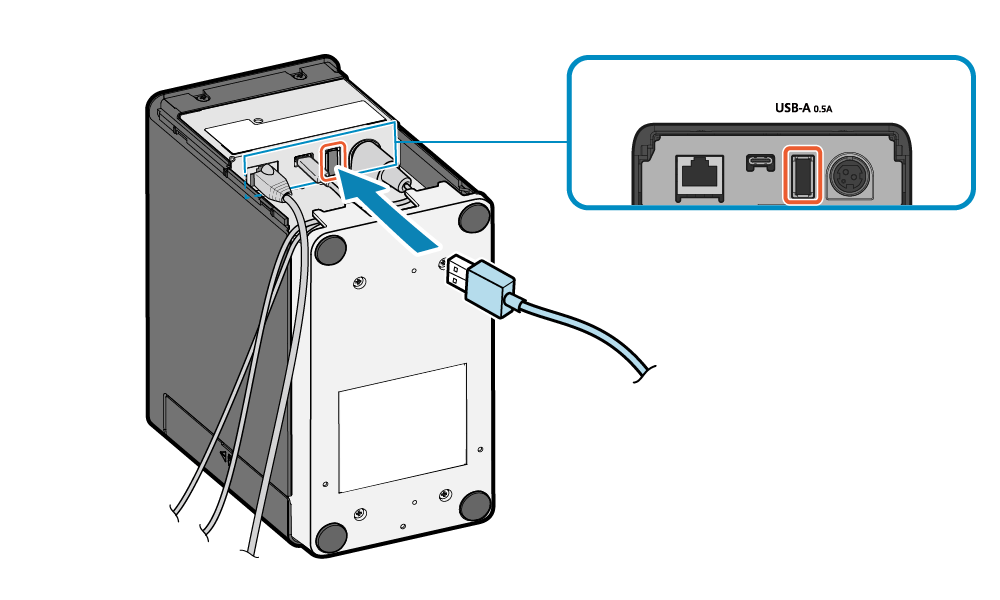
Note
Printer communication via the USB-A port is only possible with USB connectable products.
2. Connect the cable and mount the rear cover
- Cable outlets are provided in 3 locations (right, left, and back), and cables can be routed to suit the location where the device is placed.
- Mount the rear cover, referring to Mount rear cover.