Connect the Printer
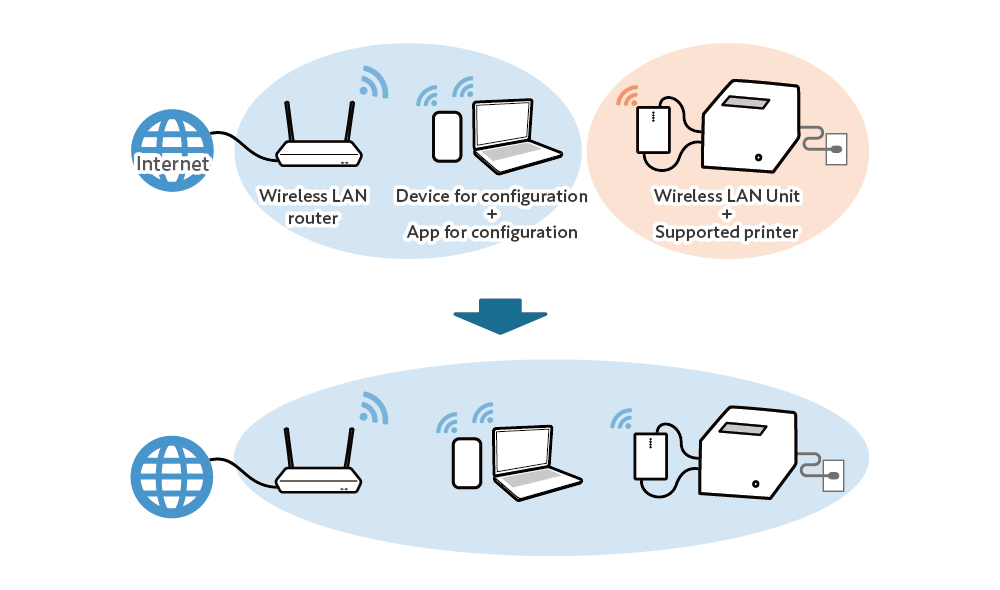
Connect the Wireless LAN Unit and printer to the wireless LAN network.
Supported printers
The printers which are supported by the Wireless LAN Unit are the following.
Prepare the Setup Device and Configure Wireless LAN Unit settings
Configure the wireless network settings for Wireless LAN Unit by using a configuration app, and then connect the printer to the wireless network.
When configuring the settings according to the following procedure, the Wireless LAN Unit must be in the initial conditions at the time of purchase.
If the Wireless LAN Unit settings have been changed, initialize the communications settings beforehand.
Initialize Communication Settings
Refer to the information according to the setup device.
When using iOS
When using Android
When using Windows
When connecting the printer to a different network where the setup device is not connected
Refer here when connecting the printer to a different network where the setup device is not currently connected.
When using iOS
1. Connect the setup device to the wireless network.
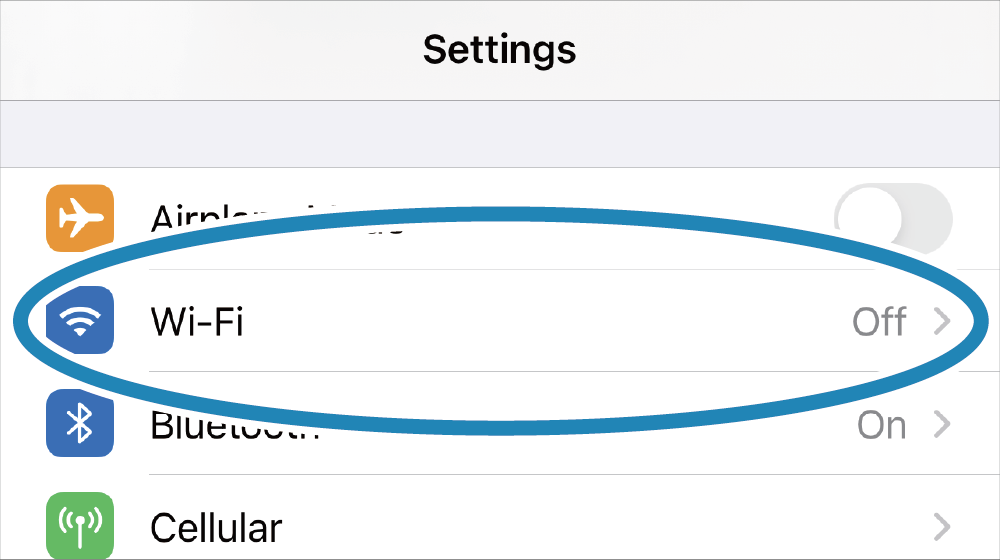
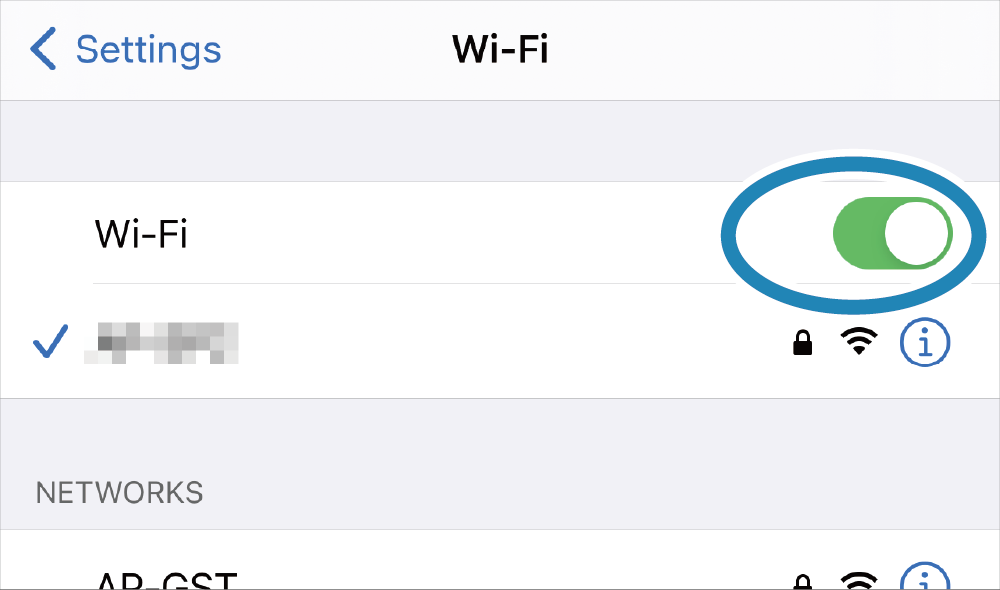
- Turn on Wi-Fi from the iOS device settings, and then connect the iOS device to the wireless network to which the printer will be connected.
Note
Below characters cannot be used in the SSID.
? " $ [ ¥ \ +
Below characters cannot be used at the beginning of the SSID.
! # ; Space
The end of the SSID cannot contain a Space.
2. Install the Star Quick Setup Utility.
- Access the following web site from the setup device and install the Star Quick Setup Utility. Star Quick Setup Utility Download URL ( App Store )
3. Connect the printer to the wireless network.
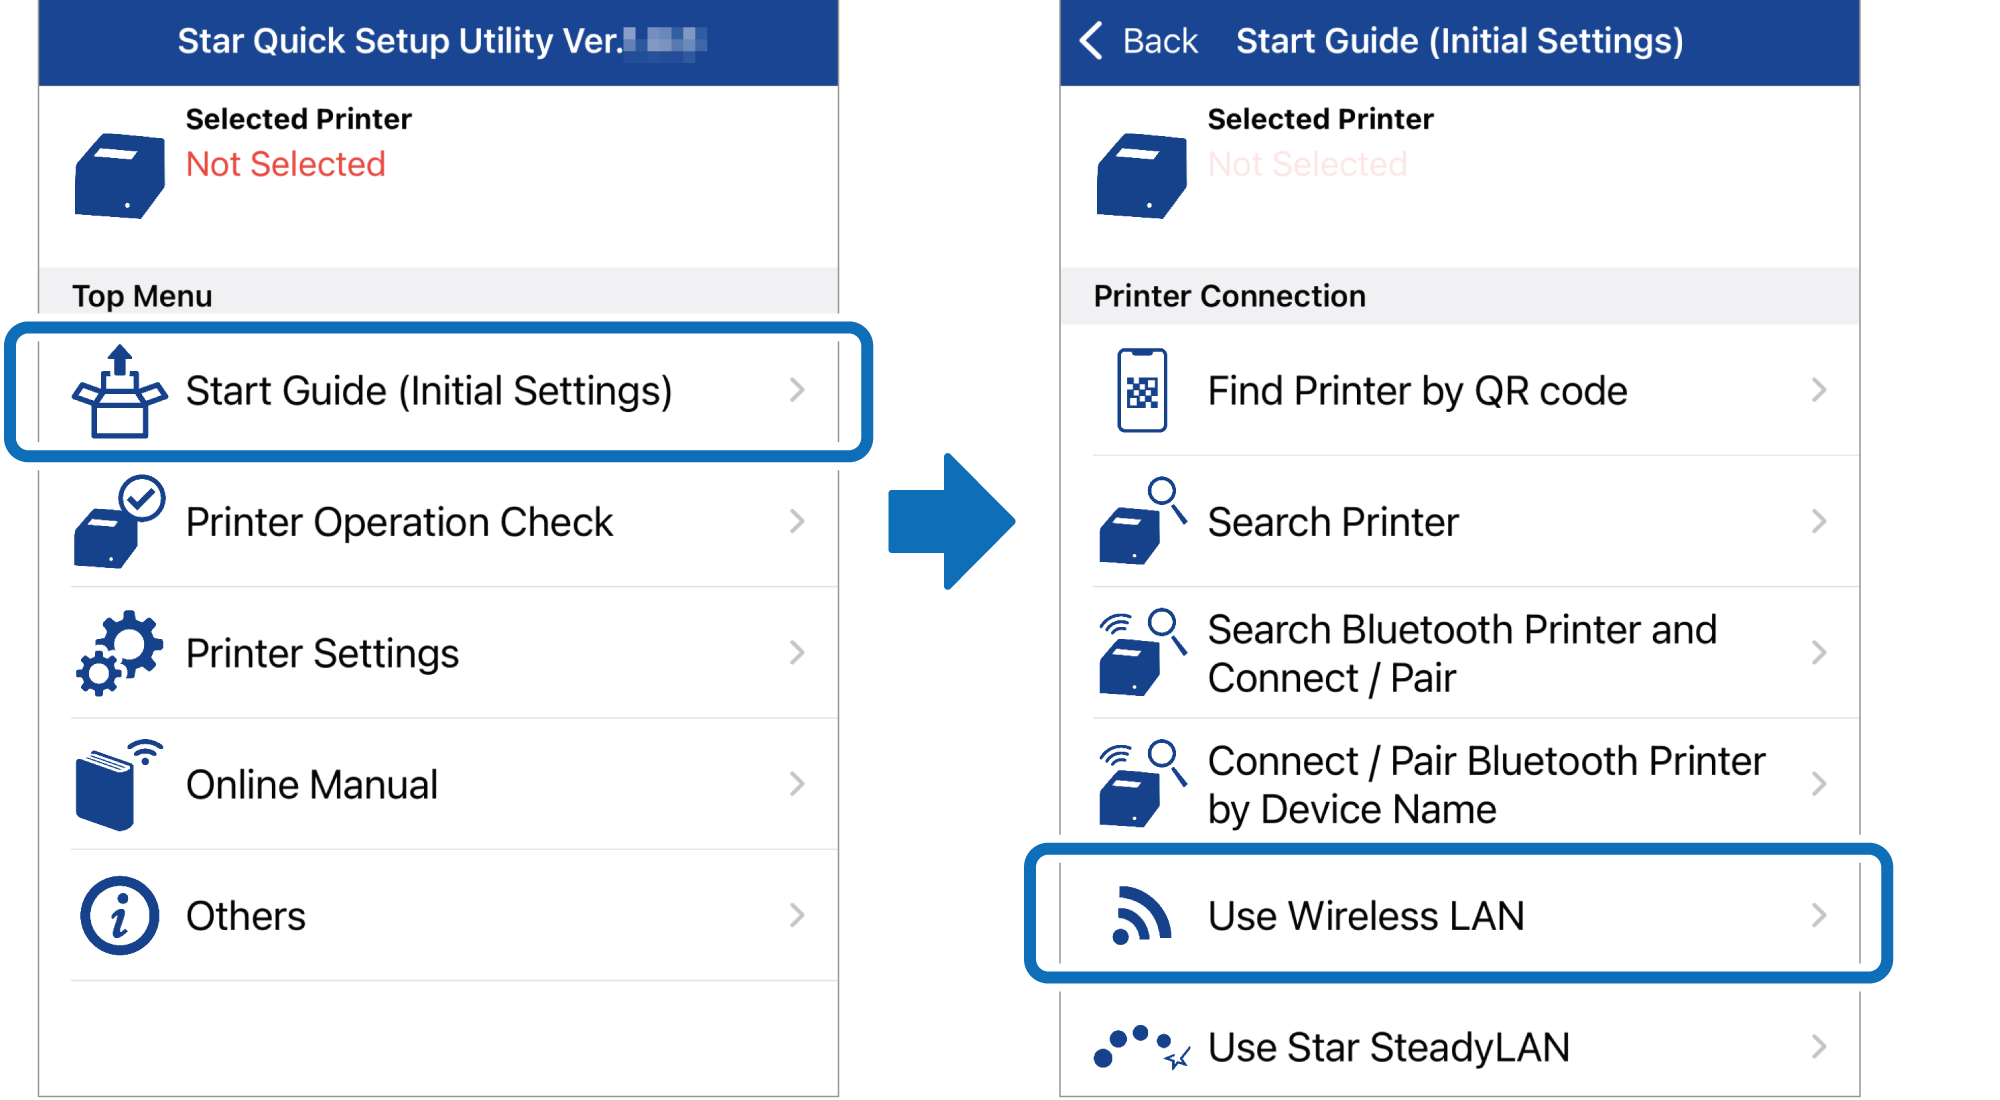
- Start the Star Quick Setup Utility, and open [Start Guide (Initial Settings)] - [Use Wireless LAN], and then follow the app instructions to complete the wireless network settings.
Notes for setting a static IP address for the printer
Once a static IP address is assigned, the IP address will not be changed by the DHCP server, so the printer that is specified first can be continuously used.
For details about static IP addresses, check with the network administrator.
When using Android
1. Connect the setup device to the wireless network.
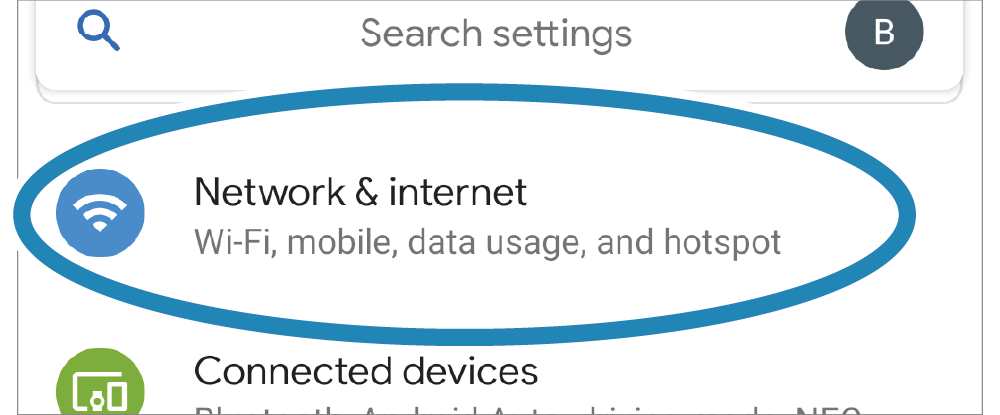
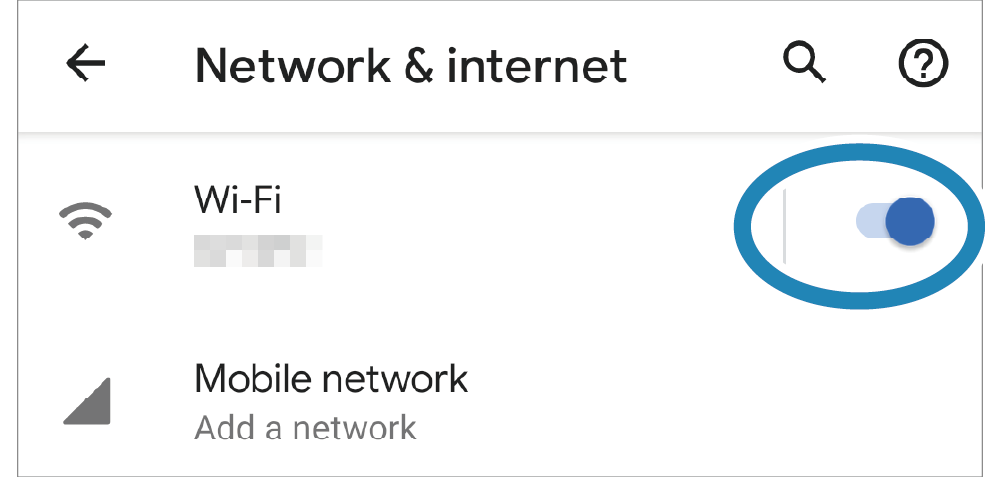
- Turn on Wi-Fi from the Android device [Settings] - [Network & internet], and then connect the Android device to the wireless network to which the printer will be connected.
Note
Below characters cannot be used in the SSID.
? " $ [ ¥ \ +
Below characters cannot be used at the beginning of the SSID.
! # ; Space
The end of the SSID cannot contain a Space.
2. Install the Star Quick Setup Utility.
- Access the following web site from the setup device and install the Star Quick Setup Utility. Star Quick Setup Utility Download URL ( Google Play )
3. Connect the printer to the wireless network.
- Start the Star Quick Setup Utility, and open [Start Guide (Initial Settings)] - [Use Wireless LAN], and then follow the app instructions to complete the wireless network settings.
Notes for setting a static IP address for the printer
Once a static IP address is assigned, the IP address will not be changed by the DHCP server, so the printer that is specified first can be continuously used.
For details about static IP addresses, check with the network administrator.
When using Windows
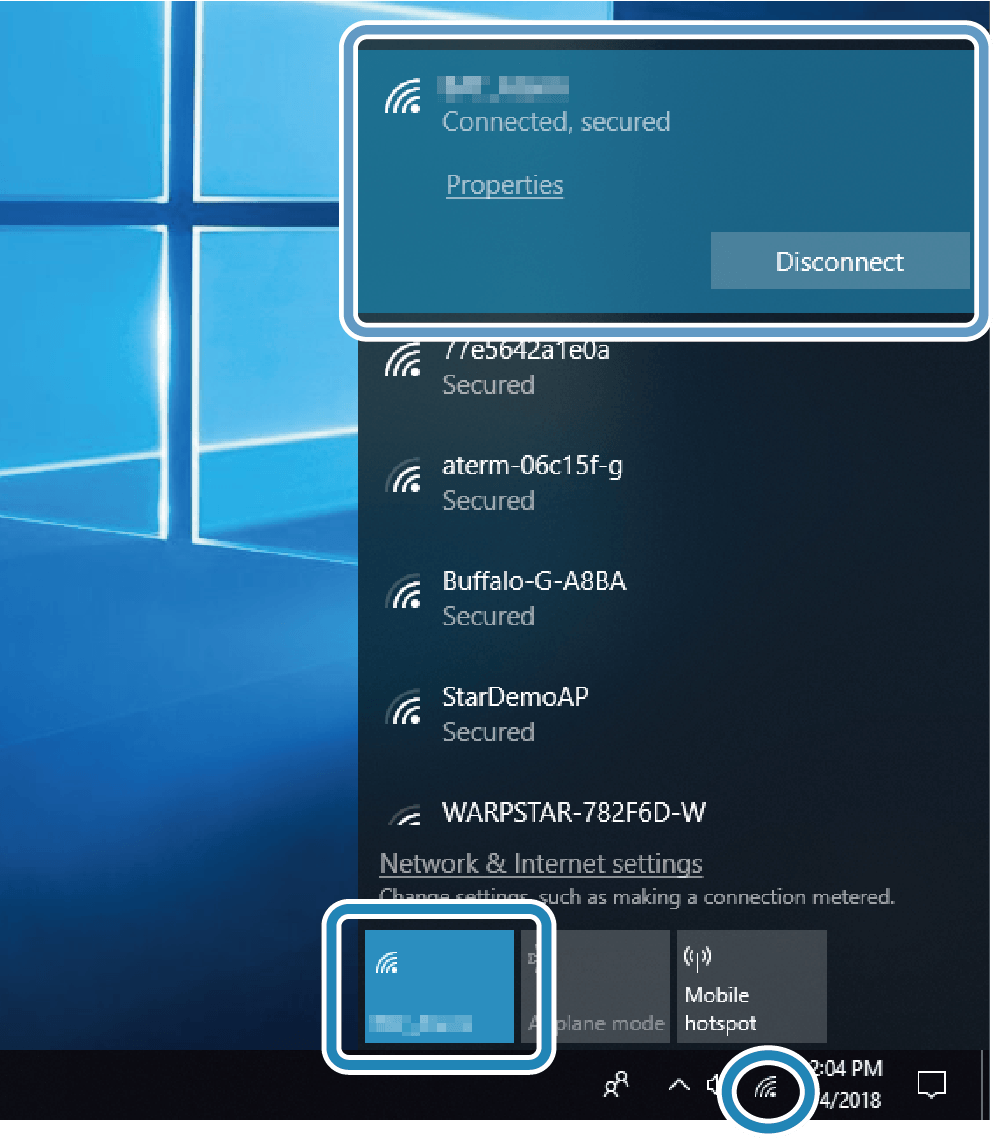
1. Connect the setup device to the wireless network.
- Click the network icon on the taskbar and turn on Wi-Fi. Connect the Windows device to the wireless network to which the printer will be connected.
Note
Below characters cannot be used in the SSID.
? " $ [ ¥ \ +
Below characters cannot be used at the beginning of the SSID.
! # ; Space
The end of the SSID cannot contain a Space.
2. Install the Wireless LAN Utility.
- The Wireless LAN Utility is a special configuration tool for the Wireless LAN Unit and is packaged with the Star Windows Software.
Access the following web site from the setup device and install the Star Windows Software.
Star Windows Software Download URL
3. Connect the printer to the wireless network.
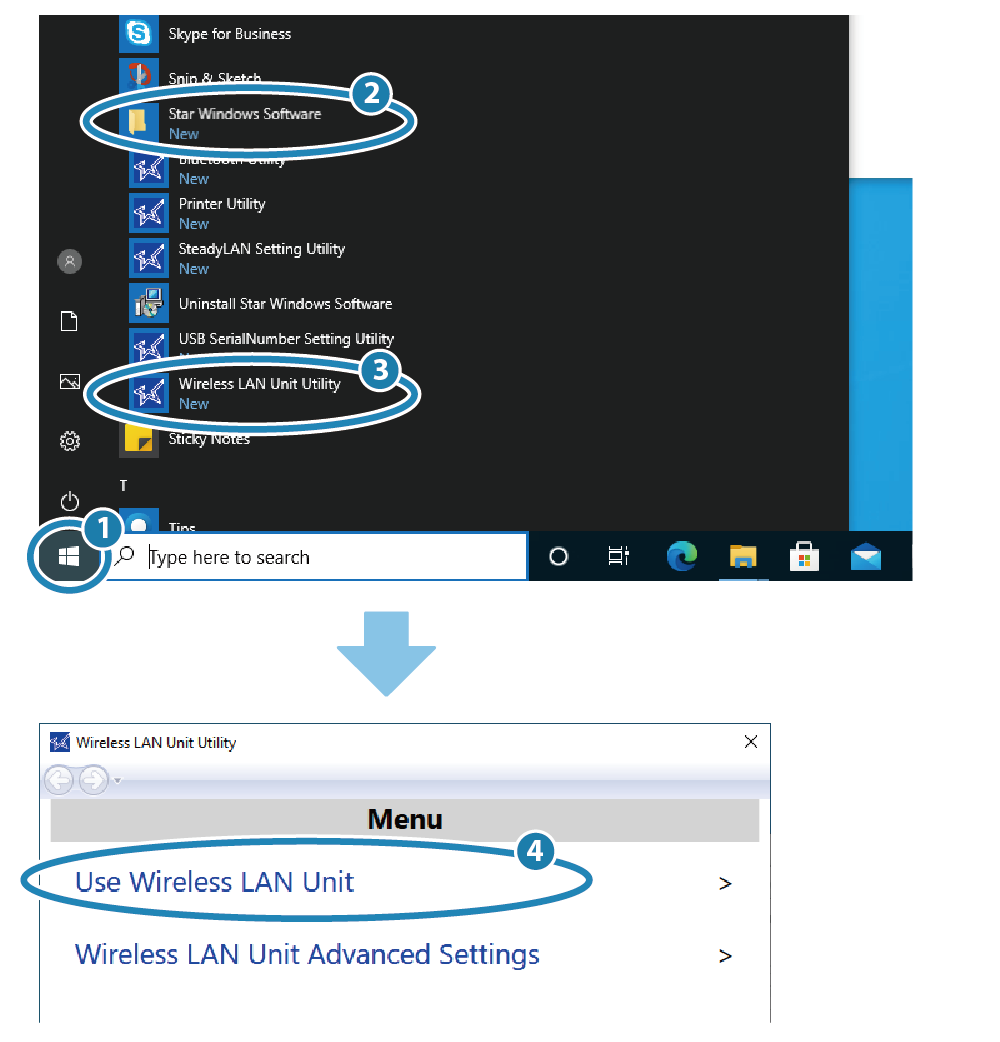
- From the Windows Start menu
 , launch [Star Windows Software]
  - [Wireless LAN Unit Utility]
  . Open [Use Wireless LAN Unit]
  and follow the app instructions to complete the wireless network settings.
Notes for setting a static IP address for the printer
Once a static IP address is assigned, the IP address will not be changed by the DHCP server, so the printer that is specified first can be continuously used.
For details about static IP addresses, check with the network administrator.
When connecting the printer to a different network
Wireless LAN Unit starts in access point mode by the factory default setting.
This means that even when you cannot connect to the network where the setup device is connected, it is possible to configure the settings via the Wireless LAN Unit. The same procedure can be used to configure the settings in an environment where a DHCP server is not present.
Refer to the following procedure and configure the settings according to the setup device.
Note
- When the power is turned on, some time may be required until the device operation stabilizes. (around 30 to 60 seconds)
Before connecting and configuring settings, check that the WLAN LED is flashing slowly. - Below characters cannot be used in the SSID.
? " $ [ ¥ \ +
Below characters cannot be used at the beginning of the SSID.
! # ; Space
The end of the SSID cannot contain a Space.
For iOS
- Use the LAN cable and USB cable to connect the Wireless LAN Unit and the printer, then turn on the printer power.
- From [Settings] - [WiFi] on the setup device, select the SSID of the Wireless LAN Unit (StarWLAN-XXXXXX) and connect to it.
- Set a static IP address for the connected printer (IP address: 192.168.10.2) by using Star Quick Setup Utility.
→ When printer settings are completed, the printer will reset. The Wireless LAN Unit also restarts and the connection with the setup device is canceled. - From [Settings] - [WiFi] on the setup device, select the SSID of the Wireless LAN Unit (StarWLAN-XXXXXX) again and connect to it.
- Set the Wireless LAN Unit connection destination and static IP address by using Star Quick Setup Utility.
From [Change Printer Settings] - [Wireless LAN Unit Settings], connect to the Wireless LAN Unit. Configures the network settings which are displayed when you select the “Infrastructure” tab and turn off “DHCP (automatically acquire IP address)”. Tap [Apply] to complete the settings.
For Android
- Connect the Wireless LAN Unit and the printer by using the LAN cable and USB cable, and then turn on the printer power.
- From [Settings] - [Network & internet] - [Wi-Fi] on the setup device, select the SSID (StarWLAN-XXXXXX) of the Wireless LAN Unit and connect to it.
- Set a static IP address for the connected printer (IP address: 192.168.10.2) by using the Star Quick Setup Utility.
→ When printer settings are completed, the printer will reset. The Wireless LAN Unit also restarts and the connection with the setup device is canceled. - From [Settings] - [Network & internet] - [Wi-Fi] on the setup device, select the SSID (StarWLAN-XXXXXX) of the Wireless LAN Unit and connect to it.
- Set the Wireless LAN Unit connection destination and static IP address by using Star Quick Setup Utility.
From [Change Printer Settings] - [Wireless LAN Unit Settings], connect to the Wireless LAN Unit. Configures the network settings which are displayed when you select the “Infrastructure” tab and turn off “DHCP (automatically acquire IP address)”. Tap [Apply] to complete the settings.
For Windows
- Connect the Wireless LAN Unit and the printer by using the LAN cable and USB cable, and then turn on the printer power.
- From the network icon on the taskbar of the setup device, select the SSID (StarWLAN-XXXXXX) of the Wireless LAN Unit and connect to it.
- Enter the IP address (192.168.10.2) in the address bar via a web browser to open it. From the setup screen (Network Utility) of the printer that is connected to the Wireless LAN Unit, set the static IP address.
→ After the printer settings or password are changed, the printer will reset. When the printer resets, the Wireless LAN Unit also restarts and connection with the setup device is canceled. Establish the connection again. Be careful not to change the Wi-Fi connection destination of the setup device while configuring the settings. - From the network icon on the taskbar of the setup device, select the SSID (StarWLAN-XXXXXX) of the Wireless LAN Unit and connect to it.
- Use [Star Windows Software] - [Wireless LAN Unit Utility] and configure the Wireless LAN Unit connection destination and static IP address.
From [Wireless LAN Unit Detailed Settings >] connect to the Wireless LAN Unit. Configure the network settings which are displayed when you select "Infrastructure Mode” and remove the checkmark from “DHCP (automatically acquire IP address)”. Click [Apply] to complete the settings.