Mount onto the Printer
Use Double-sided Tape to Mount onto the Printer
Use the provided mounting double-sided tape and attach this product to a suitable position.
Caution
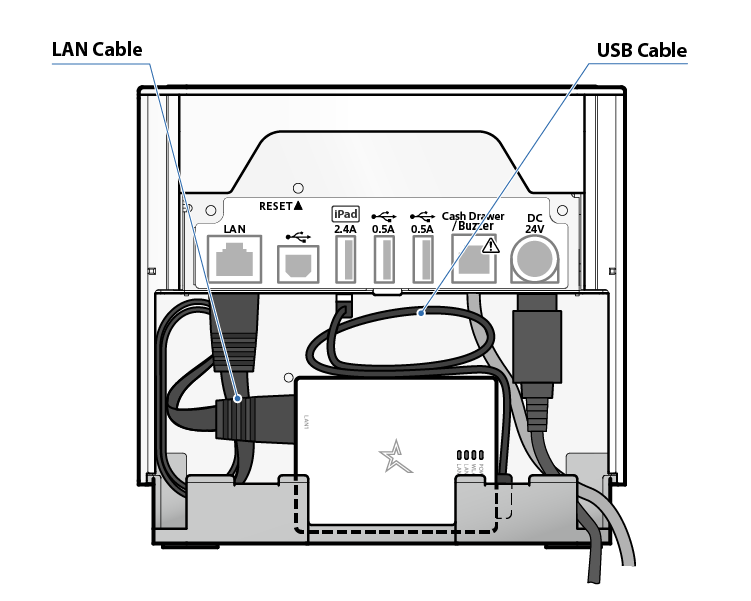
- When installing, be careful to route the connected LAN cable and USB cable so that they are not trapped behind the unit.
- You cannot check the MAC address or other information after the product is mounted using the provided double-sided tape for mounting. Be sure to make a note of it or take other action before mounting.
1. Attach the provided double-sided tape for mounting to the positions shown in the figure below.
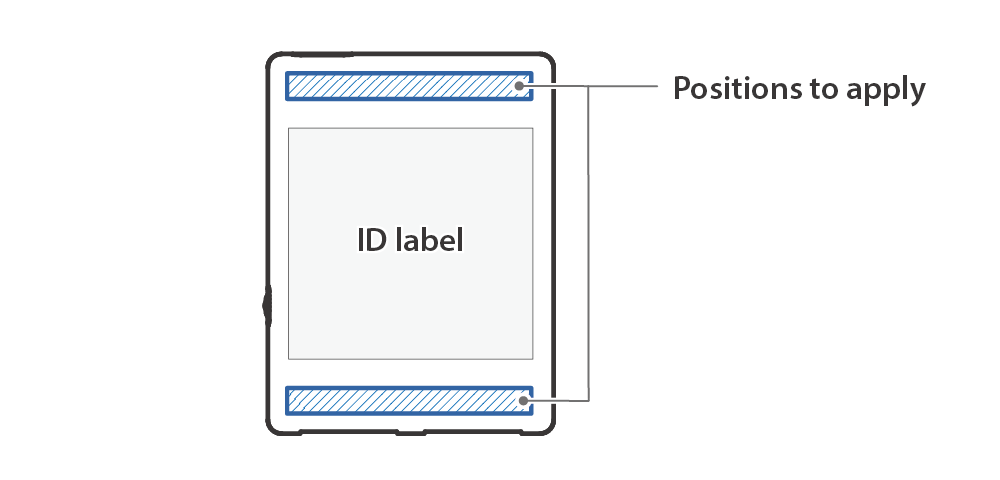
2. Mount the Wireless LAN Unit in a desired location.
- Remove the tape backing paper and attach the unit to a suitable position. Be very careful with this step as the adhesive is very strong.
Mounting Example
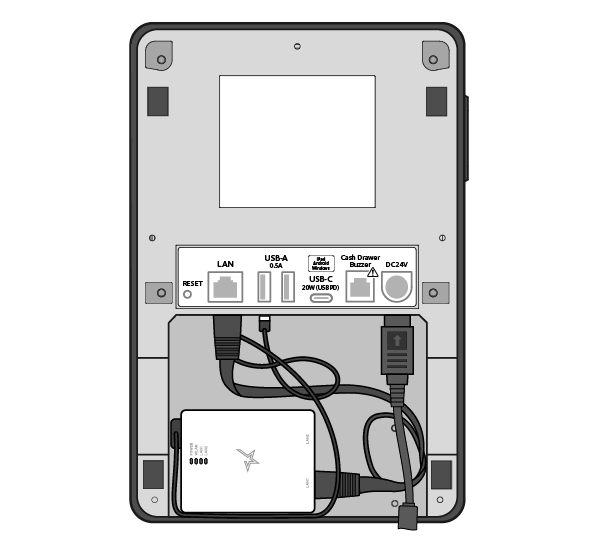
Example 1: Mounting inside MCL32CBI
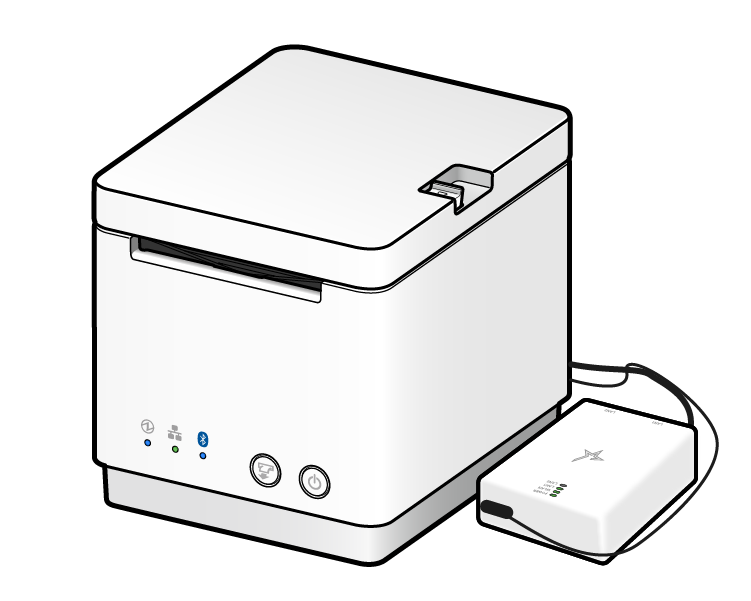
Example 2: Mounting inside TSP143IV-UE
Example 3: Mounting onto a MCP21LB
Other Mounting Methods
Caution
- When installing, be careful to route the connected LAN cable and USB cable so that they are not trapped behind the unit.
Mounting Examples
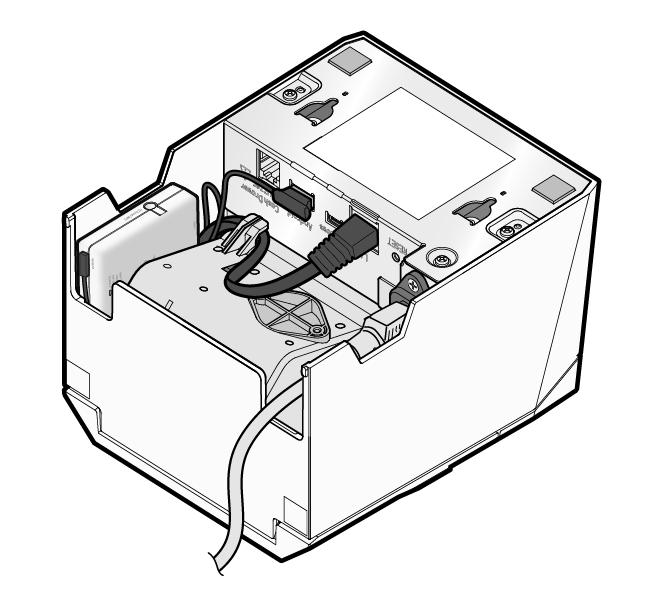
Example 1: Mounting onto the side of MCP21LB
Example 2: Mounting inside MCP31LB
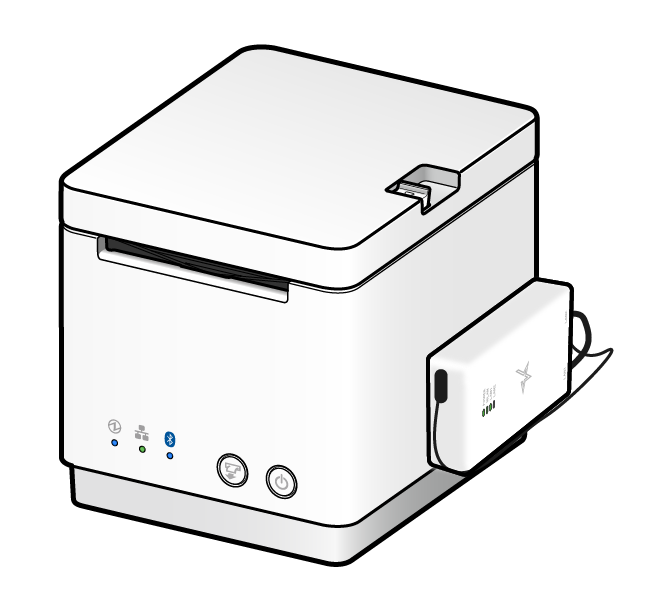
When mounting inside mC-Print3
- Due to physical restrictions, the neighboring USB port cannot be used.
- Do not mount by using double-sided tape.
- Install the rear cover before use.