Set External Devices
If using a non-iOS USB device, connect it to the USB-A port for charging and other purposes.
You can connect a separately sold melody speaker, buzzer, or cash drawer to the external device drive connector to operate it synchronized with the printer.
USB-A Port
Connector to drive external device
USB-A port -Connecting non-iOS devices-
Connect the cable you use with tablets and USB devices to the USB-A port to charge (Max 0.5A) your USB device. You can also attach a USB-compatible product for use with the printer.
A USB-A cable is not included in the accessories. Use a commercially available (or one included with the USB device) USB cable.
Since the same USB port is used, it cannot be used when a iOS device is connected.
In addition, when a non-iOS device is connected to the USB-A port, the LED notify by blinking.
Caution
Customer display is available only if supported by your application (or system). Please check with your application (or system) provider for support status.
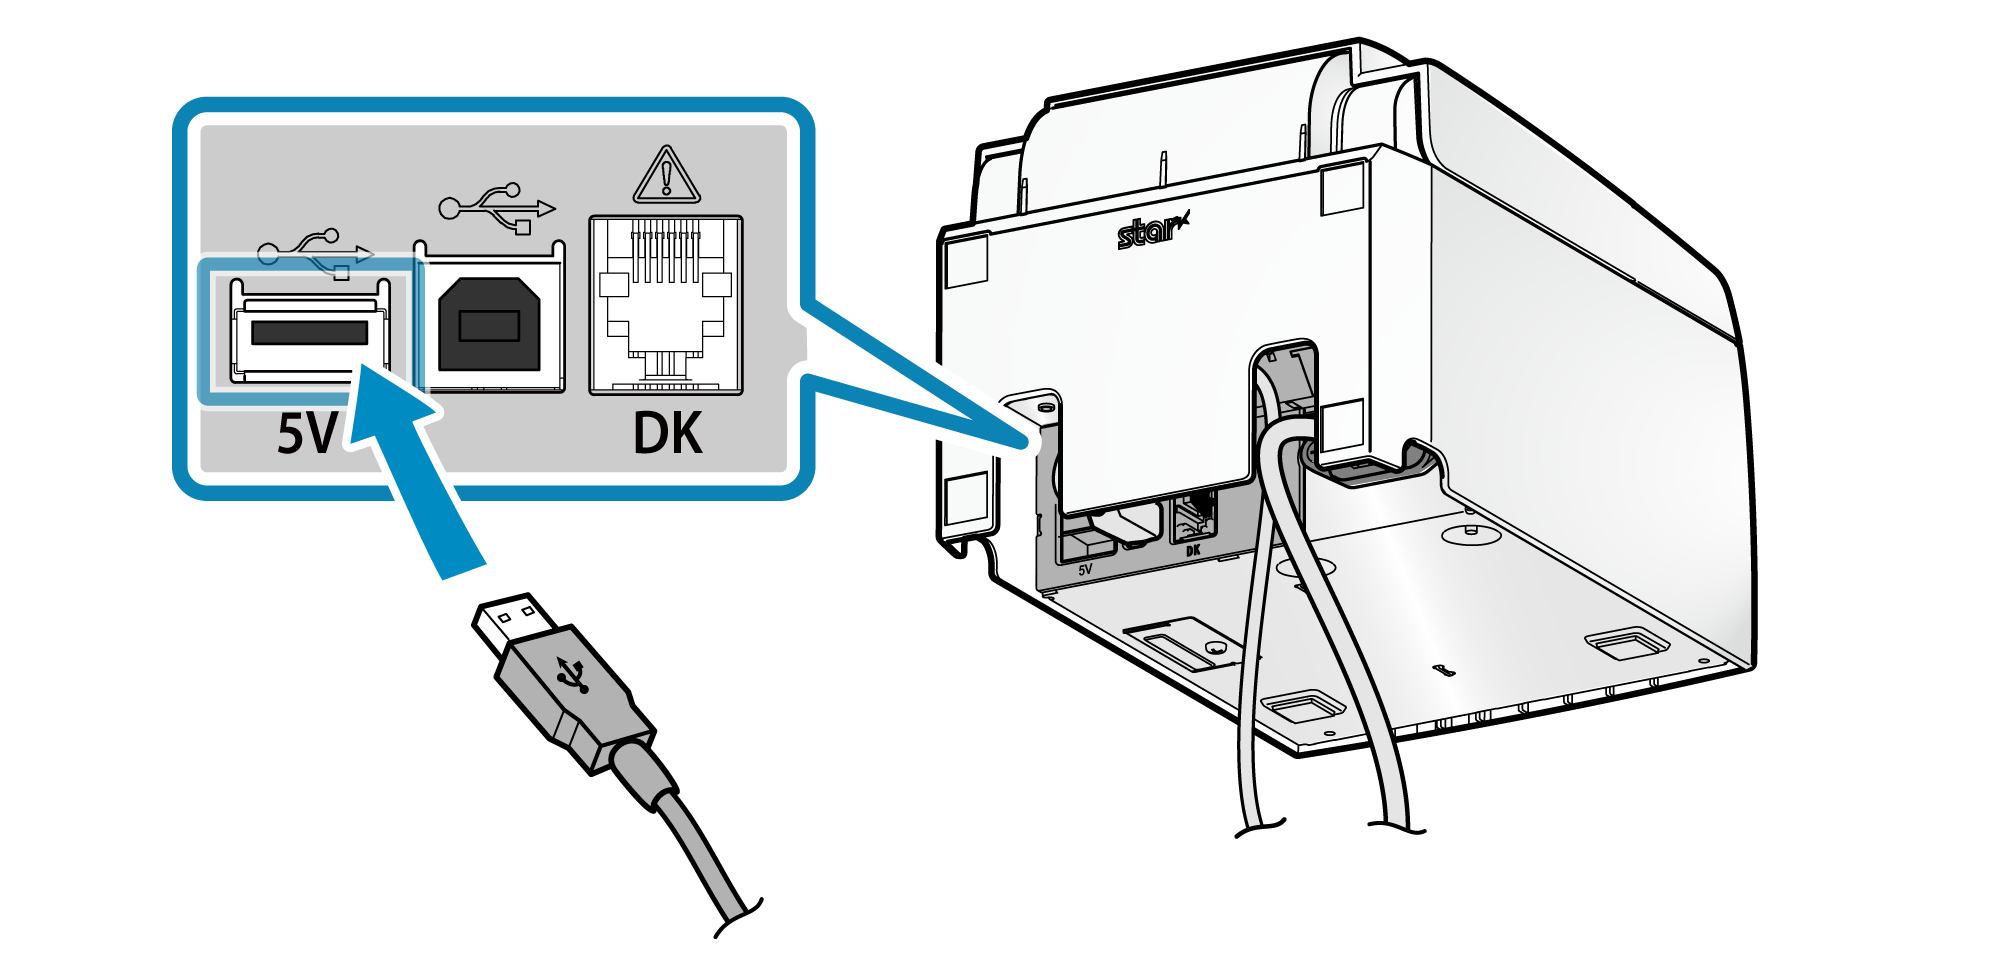
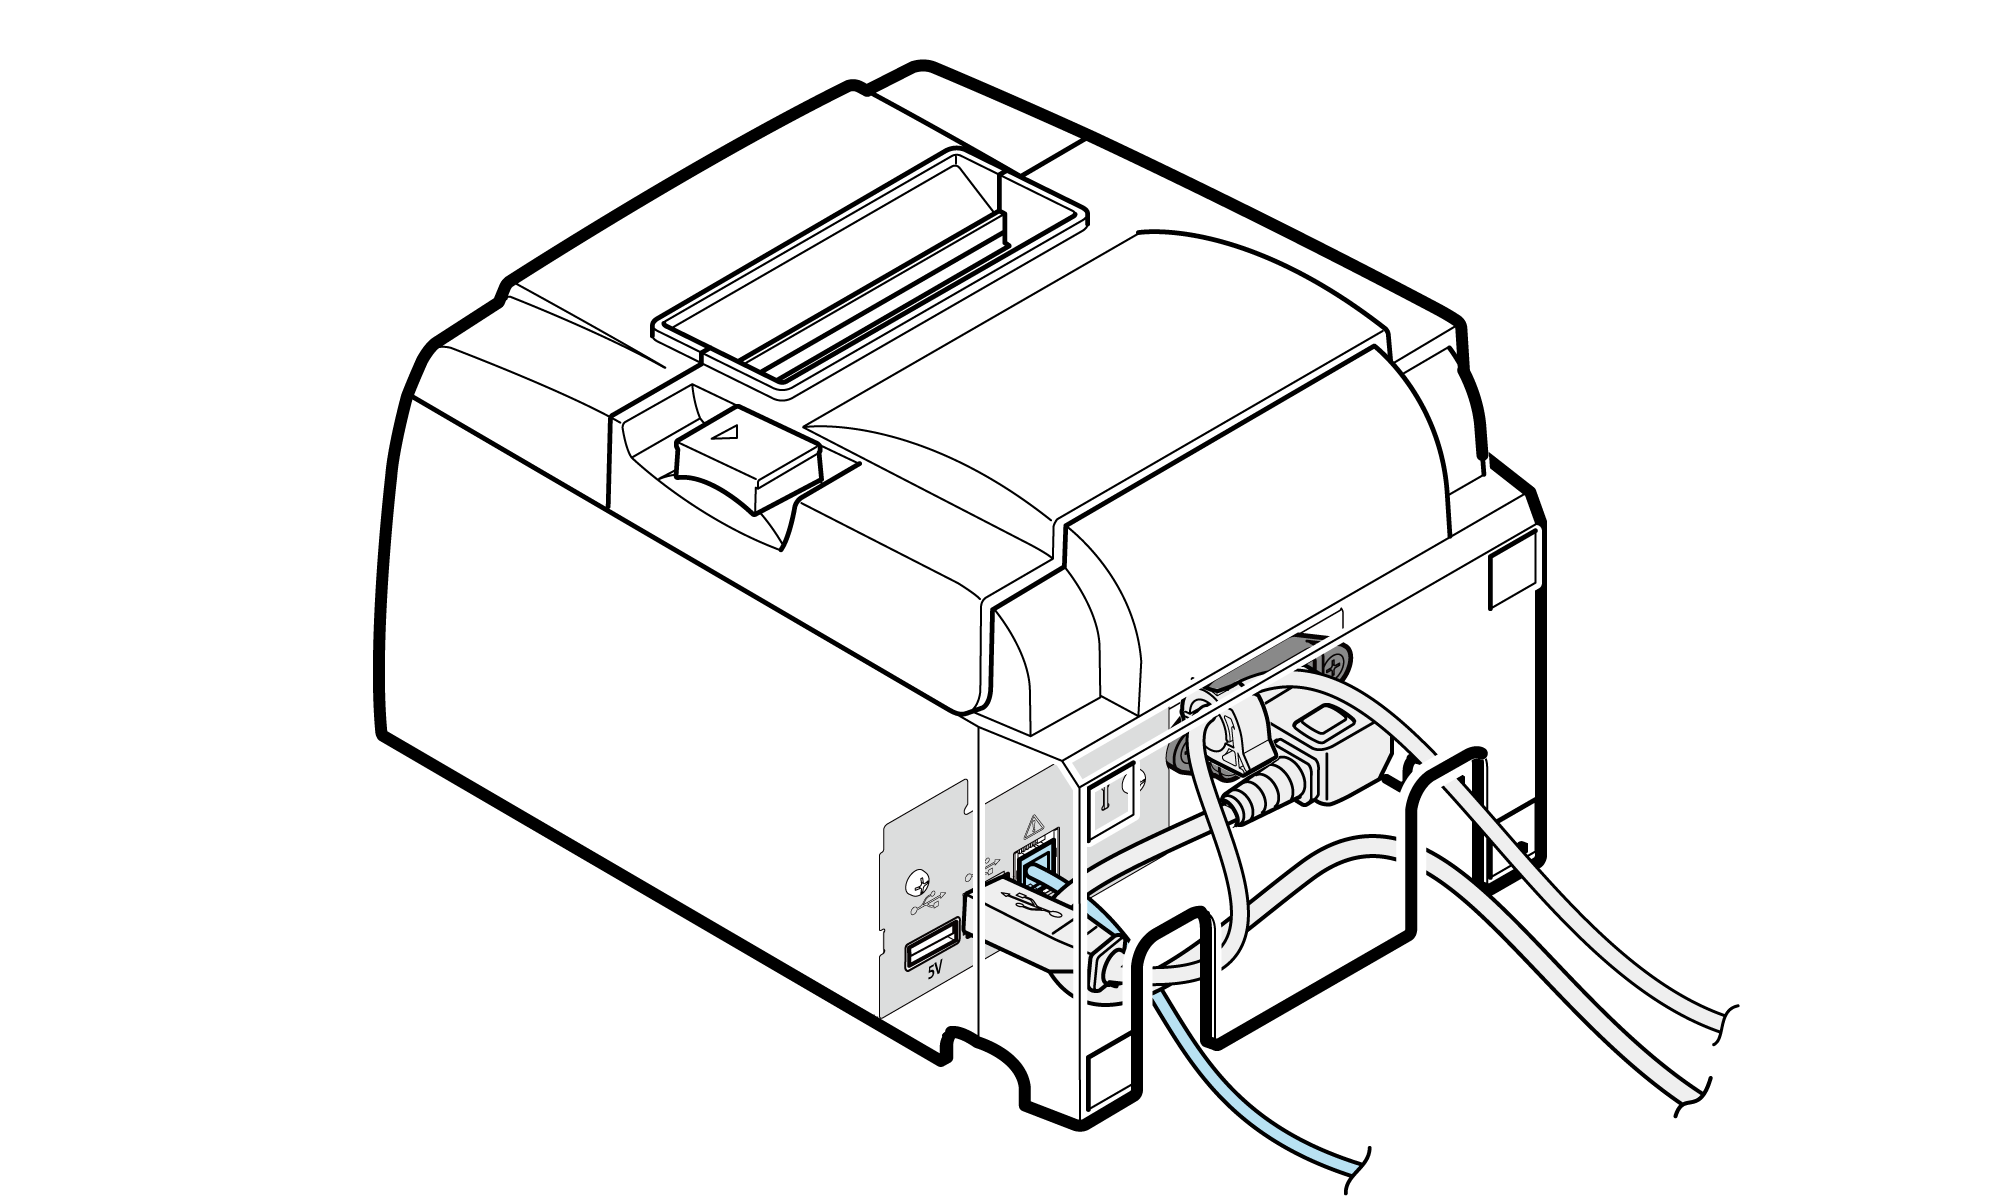
1. Connect USB cable
- Connect the USB cable connector to the port located on the bottom of the printer.
Note
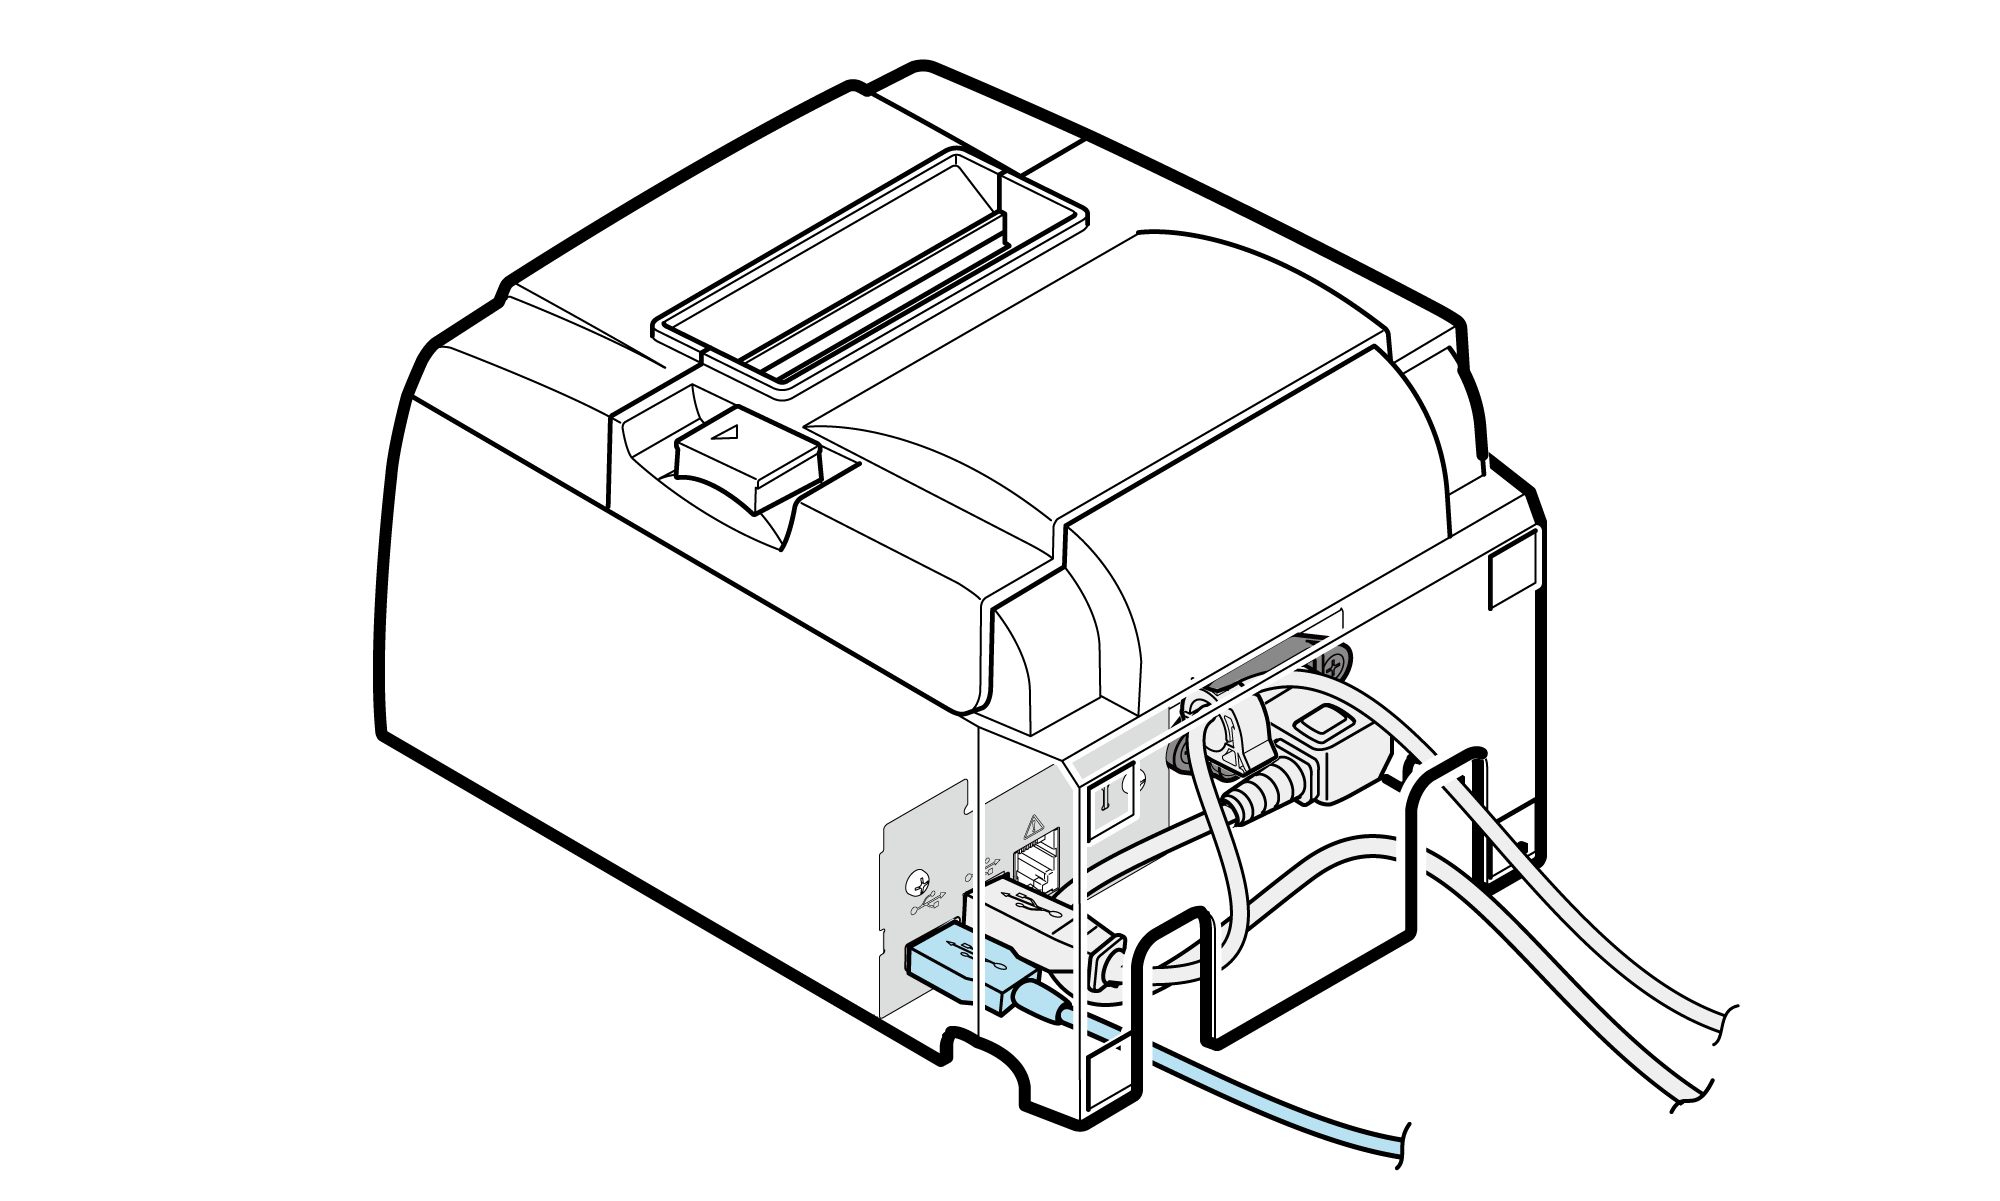
2. Wire USB cable
- There are 4 cable outlets to the right/left/back, and they can be wired according to where the printer is placed.
Connector to drive external device
If you connect a separately sold melody speaker, buzzer, or cash drawer, you can make the speaker or buzzer sound, or the cash drawer open, synchronized with operation of the printer.
Settings can be performed using the command or can also be performed by using the TSP100III Windows driver.
For details, refer to the Command Specifications or Windows Software Manual.
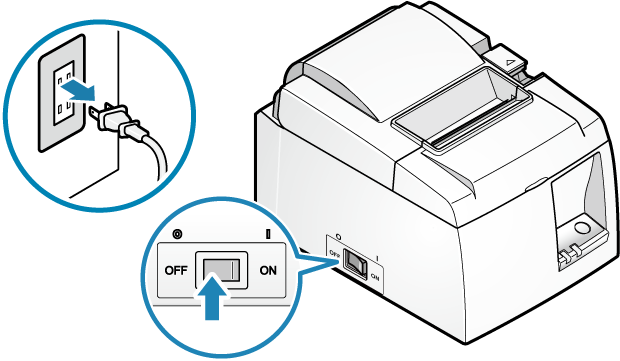
1. Turn power off
- Turn the power of the printer off, and pull the power plug from the electrical outlet.
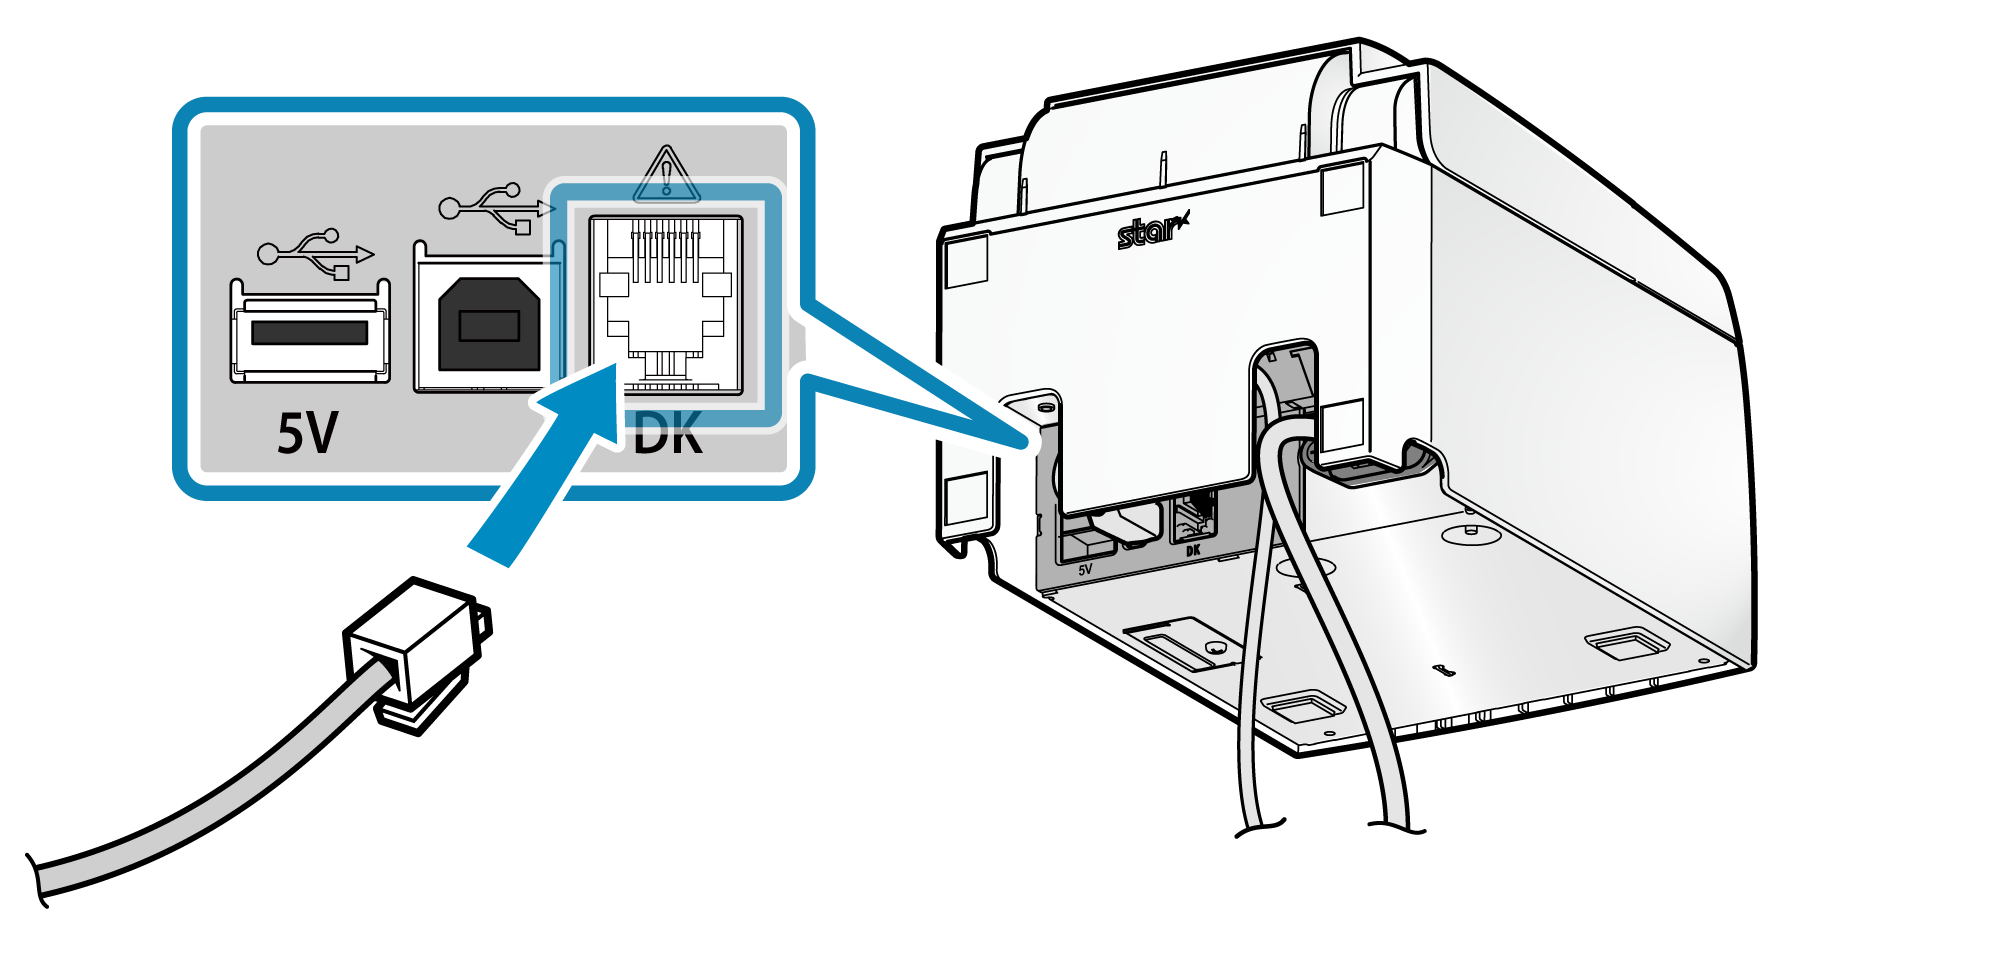
2. Connect the cable for the buzzer and cash drawer
- Connect the modular jack connector to the port located on the back of the printer.
- Cables are not included in the accessories. Use a commercially available cable (or one included with the external device).
3. Wire cable
- There are 4 cable outlets to the right/left/back, and they can be wired according to where the printer is placed.
Caution