1. Introduction
Star PassPRNT (hereafter referred to as PassPRNT) is a printing application made by Star Micronics co., Ltd.
Download software from Google Play .
PassPRNT is called by the host application using a function called URL scheme, accepts the printing data, and then outputs it to a Star Micronics-brand printer.
This manual describes the functions of PassPRNT and the application interactions between PassPRNT and the host application.
The application interaction of this software uses the Android standard Intent (including path and query).
The printing layout is defined using HTML or PDF. Other printer settings use the queries described in this manual.
Accordingly, this manual is intended for application/system developers who use HTML and Android Java. A basic understanding of HTML and Java are assumed for the users of this manual and software.
1.1. Functions of PassPRNT
The functions of PassPRNT are described below.
(A) Starting the Software
Selecting ‘Print’ will start the software in conjunction with the host application. After printing is completed, the host application is automatically displayed. (After printing is completed, PassPRNT will send any error codes to the host application.)
Selecting ‘Settings’ will be displayed as the Configuration screen when the application is started.
(B) Functions
PassPRNT is called by the host application using a URL scheme, accepts the printing data, and then the data can be printed from a Star Micronics printer.
(C) Setting Method
Printer Settings
There are two setting methods: settings can be made from the PassPRNT settings screen, or settings can be configured using queries from the host application.Settings made using queries are given priority.For information on making settings using queries, refer to Queries.
Printer Selection
- Designation of “Peripheral (Drawers, etc…)” (excluding mobile printers)
The activation timing is for the timing before printing and after printing.
(D) Screen Configuration
Printer Configuration
On the settings screen, the settings described in C)-1 can be made.
View/select a printer from a list of available printers (The “Search” function can be used)
Select the communication interface
When selecting printer, the interface selection window is displayed (LAN/Bluetooth/USB/All).
Show detected printers in search results
Firmware version acquisition is performed after the printer is selected
Based on the above result, the emulation is also determined.
Check communication with the selected printer
An error message is displayed if a printer is not selected (displays “NONE”).
Firmware version acquisition is performed after the printer is selected
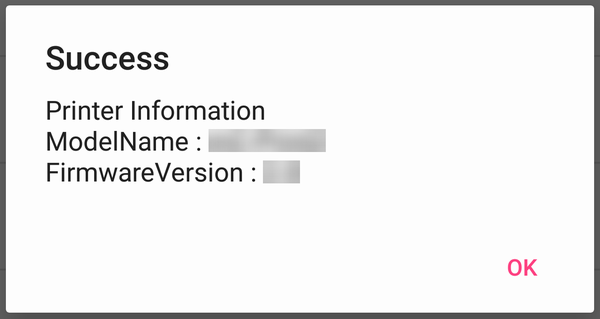
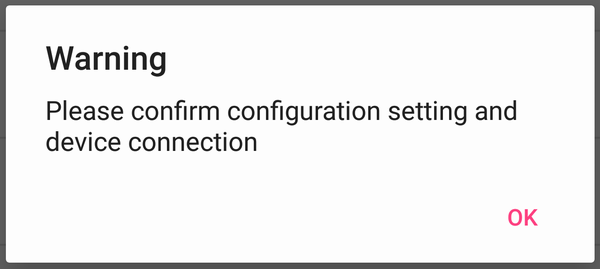
Check the selected printer supports Firmware version, and then the result (*1) is displayed. The following screen (*2) will be displayed if a communication conformation error occurs. Emulation is set if the above acquisition results in a portable printer being selected.
The following factors are considered to be the main causes of a communication confirmation error.
The device and the printer are not paired correctly
The printer is offline (the power is off or there is no paper in the printer)
Too far away from the Bluetooth printer, or poor signal conditions
In this case, the printing item will be cleared to “NONE”. Check communication with the new printer.
Settings made using queries override the above settings. If the value is not included in the query, this setting will be enabled.
If selecting drawer configuration as “before printing” and printer was offline, drawer is opened after recovering online except mPOP.
The settings made are saved in the application until it is uninstalled.
(E) Languages
This application supports the following 2 languages. If the language setting of this device is not set to Japanese, it will be set to English.
Japanese
English
(F) Cautions
During printing
- Data storage period
The period from when PassPRNT is launched by the host application until the transition back to the host application.
- Reusability
The received printing data cannot be printed unless there are instructions from the user (select “retry” during printing).
As a countermeasure for this, the “back” button is disabled (because the Intent history cannot be deleted due to the operating system limit).
- Canceling Application
Do not hold down the “home” button to cancel the operation when printing. If the application has been canceled, the operating system may close the application even when printing. Therefore, the printing result cannot be sent to the host application.
Printing error due to settings failure
When “Printer” are not selected on the settings screen, PassPRNT will consider the printer settings (type) as blank. The printer being used is one of the paired Star printers. Therefore, if you need to output to a printer that requires specifying the printer settings (type), please make sure to select ‘Printer’ either on the settings screen or by query.
Deleting data
If deleting data from the settings screen, ([Settings]-[Apps]-[PassPRNT]), the settings will be set to the default settings. Reconfigure the settings if necessary.
USB connection
In Android 7.0 or higher, portName which is got by search feature, (for example, usb:1-1) has some limitations.
It changes every time the USB printer is connected. Set portName to “usb:” as “port” of query or set “usb:SN:serial number”. Conforms to StarIO portName specifications.

