IFBD HI01/02X Setting
All HI01/02X configuration is performed via a user interface hosted on the built-in web server.
1Check the IP address of the HI01/02X -Printer by self-print.
Connect Ethernet cable to the HI01/02X -Printer.
While holding the FEED button depressed, turn ON the power switch.
When self-printing starts, release the FEED button.
The IP address of the HI01/02X -Printer is shown in 2nd print paper.
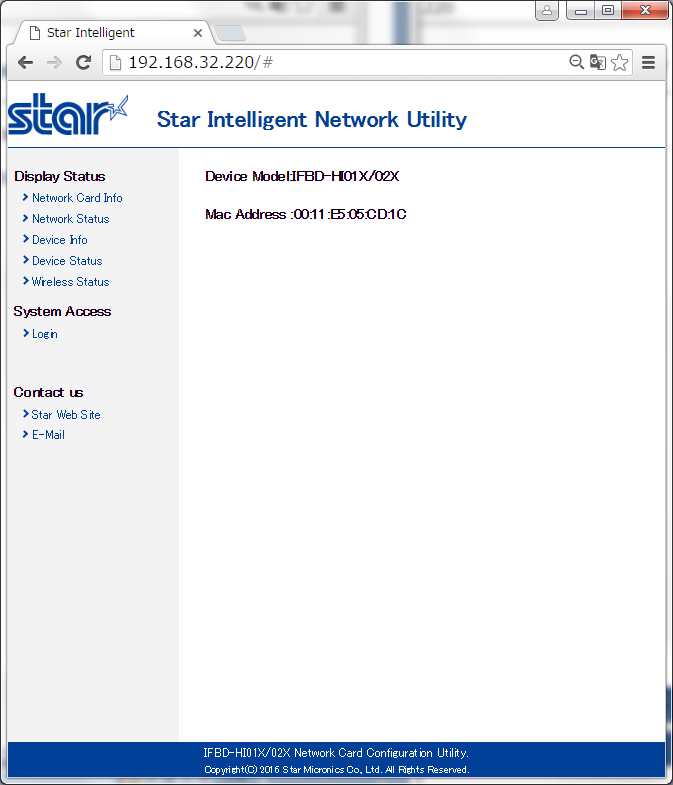
2Open the setting screen of the printer via the Web browser.
Put IP address of HI01X into the web-browser. Then the web configuration utility is shown.
3Click "Login" and put user name and password.
User name: "root", Pass word: "public"
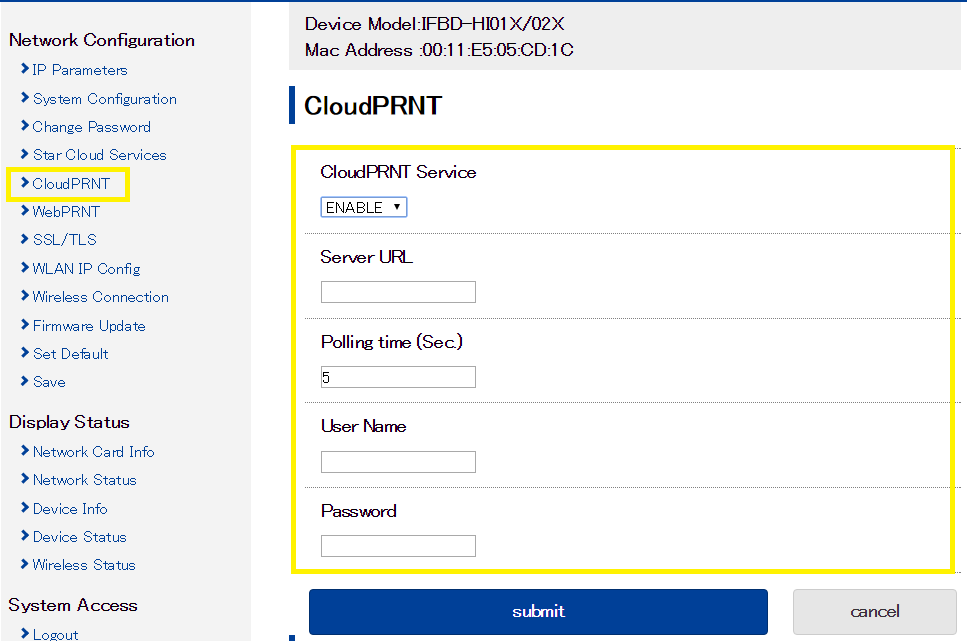
4Click "CloudPRNT" and set CloudPRNT setting.
After setting the required items, click "submit".
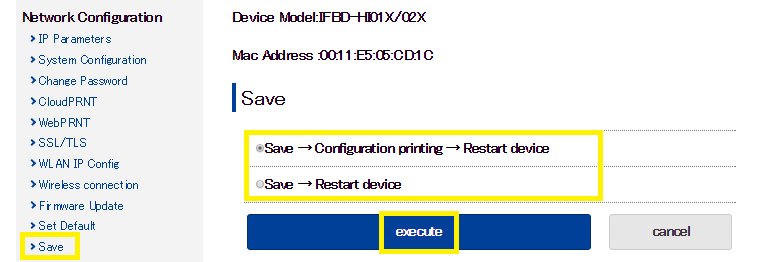
5After CloudPRNT setting, you must do "save" to apply your setting to HI01/02X. Then the printer will reboot to complete it.